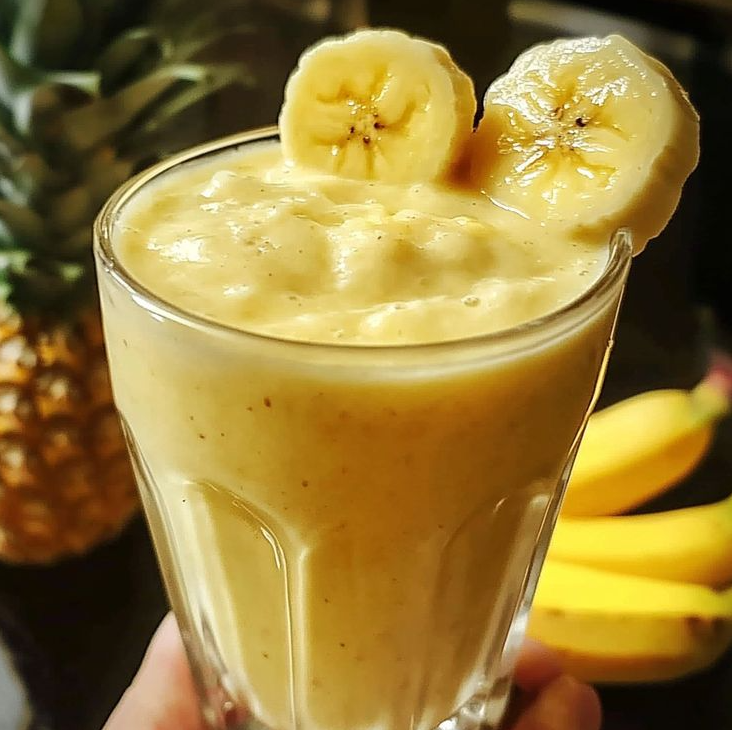
Looking for a simple yet effective way to enhance your energy, stamina, and overall well-being? A Banana and Honey Smoothie is the perfect natural solution. Packed with essential nutrients and antioxidants, this delicious smoothie is not just a treat for your taste buds, but a powerhouse for supporting male vitality and improving physical performance. Read on to discover the incredible health benefits and how you can whip up this nutrient-dense smoothie at home.
Why This Smoothie Enhances Male Vitality
This smoothie isn’t just tasty—it’s designed to support male health at its core. Let’s break down why each ingredient in this smoothie is specifically beneficial for men:
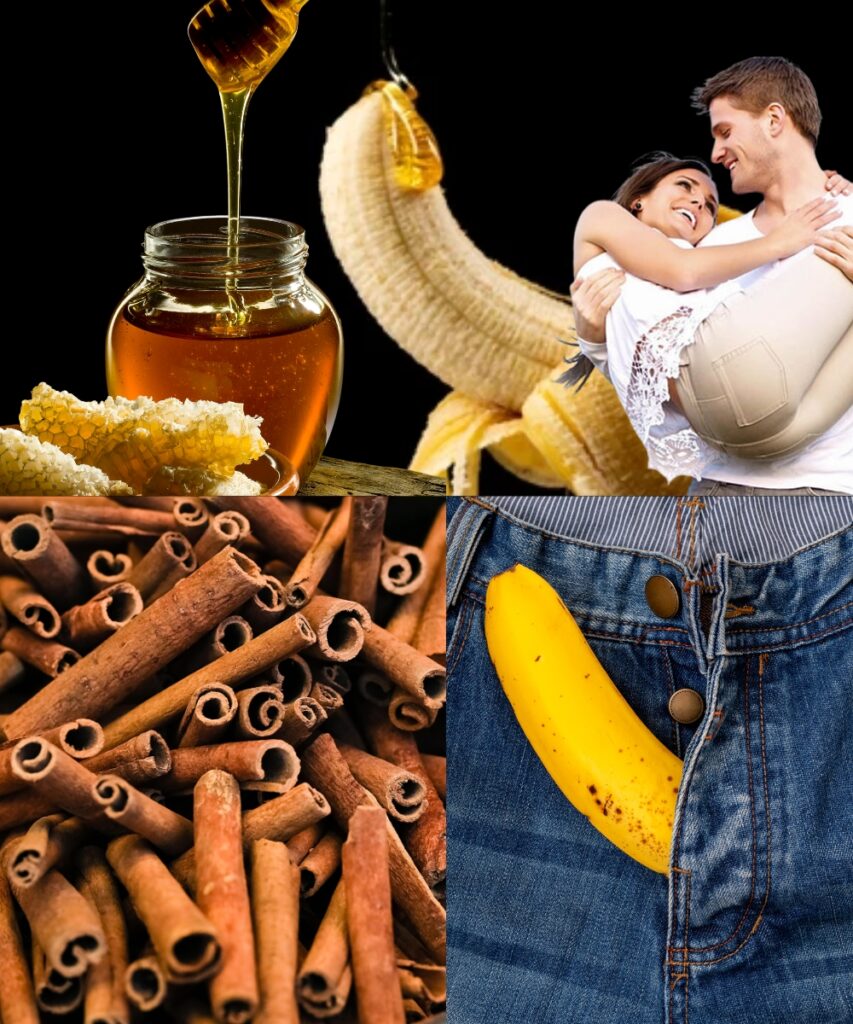
1. Bananas – Nature’s Testosterone Booster
Bananas are more than just a convenient snack. They’re rich in potassium and bromelain, two powerful components that are essential for men’s health. Potassium helps regulate blood pressure and promotes healthy circulation, ensuring that essential nutrients are efficiently delivered throughout your body, particularly to the muscles and heart. Bromelain, a natural enzyme found in bananas, has been shown to enhance testosterone production, which plays a vital role in male vitality, muscle growth, and energy levels. Whether you’re working out or just getting through your busy day, bananas provide a sustained energy boost that keeps you feeling at your best.
2. Honey – The Natural Aphrodisiac
Honey isn’t just a sweetener—it’s a powerhouse when it comes to male health. Boron, a mineral found in honey, regulates hormone levels, promoting testosterone balance. Honey also enhances nitric oxide production, which boosts blood flow and circulation. Proper circulation is crucial for male reproductive health and stamina, ensuring that your body functions optimally in both the gym and in intimate moments. This natural aphrodisiac works in harmony with the other ingredients to promote overall vitality and well-being.
3. Nuts (Almonds/Walnuts) – Rich in Omega-3 Fatty Acids
Almonds and walnuts are rich in omega-3 fatty acids, which are crucial for heart health and improving circulation. These healthy fats are known to increase blood flow, which aids in stamina and endurance, particularly during exercise. Arginine, an amino acid found in nuts, helps to relax and dilate blood vessels, improving circulation throughout the body. The energy from these nuts is long-lasting, providing a steady source of fuel for your body and mind throughout the day.
4. Cinnamon – The Blood Circulation Enhancer
A dash of cinnamon does more than add flavor—it also improves blood flow, a key factor in enhancing overall vitality. Cinnamon contains compounds that help regulate blood sugar levels, preventing energy crashes and helping you maintain balanced energy throughout the day. Its anti-inflammatory properties also support joint health, ensuring you remain active and agile. Plus, cinnamon adds a delicious warmth to the smoothie that’s both soothing and invigorating.
5. Milk or Almond Milk – Packed with Protein and Calcium
The inclusion of milk or almond milk in this smoothie provides a rich source of protein and calcium, two essential nutrients for maintaining strong bones, muscle health, and overall body strength. Milk helps to build and repair muscle tissue after a workout, while the added calcium supports bone health, which is especially important as we age. For those looking for a dairy-free option, almond milk offers a nutritious alternative while being rich in vitamins like vitamin E and magnesium, both of which support cardiovascular health.
How to Make the Banana and Honey Smoothie

Making this vitality-boosting smoothie is quick and easy! Here’s how to prepare it:
Ingredients:
- 1 ripe banana
- 1 tablespoon of raw honey
- 1 cup of milk (or almond milk for a dairy-free option)
- 5-6 almonds or walnuts
- ½ teaspoon of cinnamon powder
- 3-4 ice cubes (optional for a cooler texture)
Instructions:
- Peel and chop the banana into smaller pieces.
- Add the banana, honey, milk, nuts, and cinnamon to a blender.
- Blend for 30-45 seconds until the mixture is smooth and creamy.
- Pour into a glass and add ice cubes if you prefer a chilled smoothie.
- Enjoy immediately for a fresh, revitalizing boost!
Best Time to Drink This Smoothie
This smoothie is incredibly versatile and can be consumed at various times throughout the day to boost your vitality:
Morning:
Start your day with an energizing smoothie to kickstart your metabolism and give you the energy to take on the day.
Pre-Workout:
This smoothie provides sustained energy and supports physical performance during exercise, making it an excellent pre-workout snack.
Before Intimacy:
If you’re looking to naturally enhance stamina and circulation, this smoothie is an ideal choice before intimate moments, helping to improve blood flow and overall vitality.
Final Thoughts: A Simple, Natural Boost for Men’s Health
This Banana and Honey Smoothie is not just a tasty treat—it’s a natural and effective way to enhance male vitality. Packed with essential nutrients that support testosterone production, improve circulation, and boost energy levels, this smoothie is a perfect addition to your daily routine. Whether you drink it in the morning, before a workout, or before intimate moments, you’re giving your body the nutrients it needs to perform at its best.
Incorporating this smoothie into your diet provides a simple yet powerful way to boost your health, vitality, and overall well-being. Try it today and experience the benefits firsthand!
Stay tuned for more easy-to-make recipes and natural health tips that can help you feel your best every day.


")