Cinnamon and honey have been used together for centuries in traditional remedies. This simple combination is popular for its potential to support immunity, digestion, and overall wellness. But what actually happens when you consume cinnamon and honey daily?
You can also explore the full cinnamon and honey benefits for a more detailed explanation.
In this article, we’ll break down 7 key benefits, how to use this mixture safely, and who should avoid it.
1. Supports Immune Function
Both cinnamon and honey contain antioxidants and natural antibacterial compounds. These properties may help the body defend against common infections such as colds and flu.
2. May Help With Weight Management
Cinnamon may help regulate blood sugar levels, which can reduce cravings. Honey provides a natural source of energy. Together, they can support a balanced diet when used in moderation.
3. Improves Digestion
Cinnamon may help stimulate digestive enzymes, while honey acts as a natural prebiotic. This combination may support gut health and reduce bloating.
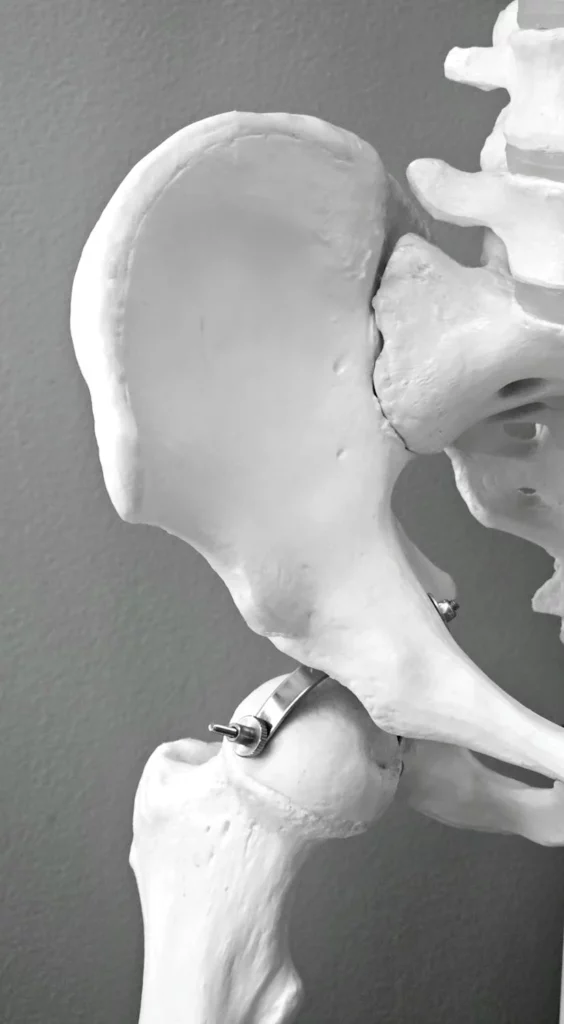
4. Reduces Inflammation
Both ingredients contain compounds that may help reduce inflammation in the body. This can be beneficial for joint discomfort and general wellness.
5. Supports Heart Health
Some studies suggest cinnamon may help lower LDL cholesterol levels, while honey may support circulation. Together, they can contribute to better cardiovascular health.
Other natural remedies such as lemon and garlic health benefits or benefits of drinking aloe vera water daily are also widely used for supporting heart health and overall wellness.
6. Has Antibacterial Properties
Cinnamon and honey are known for their ability to fight certain bacteria and fungi. This is why they are often used in natural remedies for sore throat and minor infections.
7. Provides Natural Energy
Honey delivers quick energy, while cinnamon may help improve circulation. This combination can help reduce fatigue and support daily energy levels.
How to Use Cinnamon and Honey

To prepare this mixture:
- 1 teaspoon honey
- ½ teaspoon cinnamon
You can take it:
- in the morning
- before meals
- mixed with warm water or tea
Possible Side Effects
While generally safe, excessive consumption may cause:
- blood sugar fluctuations
- allergic reactions (rare)
- irritation if consumed in large amounts
Moderation is key.
Who Should Avoid It
- People with allergies to honey or cinnamon
- Individuals with blood sugar conditions (consult a doctor)
- Children under 1 year (honey is not recommended)
FAQ
Is it safe to take cinnamon and honey every day?
Yes, in moderate amounts it is generally safe for most people.
When is the best time to take cinnamon and honey?
Morning or before meals is most common.
Can cinnamon and honey help with weight loss?
It may support weight management when combined with a healthy diet.

Conclusion
In addition, many people look for natural remedies for parasites or ways on how to improve blood circulation naturally as part of a complete health routine. Cinnamon and honey can be a simple addition to your daily habits when used correctly and consistently.