In a world increasingly driven by chemical solutions and artificial interventions, nature often reminds us that it already holds the answers to many of our challenges—if we only look closely enough. One such natural marvel lies at the heart of an intriguing image: a bulb of garlic surrounded by an unexpected alliance of frogs and insects, each bearing a whimsical name that hints at a hidden truth. This curious diagram isn’t just a work of art—it’s a portal into the fascinating relationship between garlic and the small creatures of our ecosystem.

At first glance, the image might seem playful, with creatures labeled as “Flyosquito,” “Femites,” and “Grasshotder.” But behind these quirky names lies a deeper message about the natural pest-fighting potential of garlic and the interconnectedness of life in our gardens, farms, and even wild forests. Let’s take a journey through this ecosystem, decode its secrets, and discover why garlic might just be one of nature’s most underestimated weapons.
Garlic: More Than Just a Kitchen Staple
Garlic, known scientifically as Allium sativum, has been revered for thousands of years not just as a culinary delight, but also as a powerful medicinal and protective plant. Ancient civilizations—from the Egyptians to the Greeks—used garlic to ward off illness, boost strength, and even repel evil spirits.
But garlic’s power extends beyond human health. Its pungent aroma and potent compounds like allicin have long made it a natural deterrent for many insects and pests. And in our featured image, this humble bulb becomes the central figure in a small ecosystem of creatures—some of which are friends, others foes.
Let’s meet the cast of characters in this delightful visual story.
The Insect Army: Friends or Foes?
1. Flyosquito
This curious hybrid name suggests a blend between a fly and a mosquito. Both insects are notorious pests in human environments, known for spreading disease and causing irritation. Garlic is known to repel both. Studies have shown that garlic extracts can deter mosquitoes effectively, and its strong scent confuses flies’ olfactory sensors, making it harder for them to locate food or breeding sites.
2. Femites
A clever twist on “termites” or “mites,” this insect appears to represent tiny pests that often infest homes, gardens, and crops. Garlic’s natural antifungal and antibacterial properties can be a strong line of defense. Farmers have used garlic sprays to manage mite populations in organic farming, avoiding the use of toxic pesticides.
3. Termite
One of the most destructive insects to wooden structures, termites are a menace in many parts of the world. Essential oils derived from garlic have shown potential in deterring termite colonies. It doesn’t kill them instantly but creates a hostile environment that encourages them to move on.
4. Fiz
A small beetle-like bug, Fiz might be a stand-in for weevils or similar crop-destroying insects. Once again, garlic proves its worth. Gardeners often plant garlic near vulnerable crops to reduce beetle infestations, as the pungent sulfur compounds in garlic act as a natural repellent.
5. Grassrocher
Possibly a cross between “grasshopper” and “cockroach,” this one represents ground-dwelling and jumping insects. Grasshoppers can decimate crops, while cockroaches are infamous for thriving in urban waste. Garlic-infused sprays can dissuade both from lingering, making it a powerful tool for natural pest management.
6. Foilyto
Looking like a dragonfly, this creature may not be a pest at all. In fact, dragonflies are beneficial insects that feed on mosquitoes and other small bugs. Including this character in the image suggests garlic’s role in maintaining a balanced ecosystem—repelling the bad while coexisting with the good.
The Amphibian Allies
7. Lize
A vibrant green frog, “Lize” symbolizes the amphibians that thrive in moist, pesticide-free environments. Frogs are incredible natural pest controllers. A single frog can eat hundreds of insects in a night. Using garlic as a natural repellent instead of chemicals ensures frogs can safely patrol your garden, acting as guardians of biodiversity.
8. Grasshotder
A close relative to Lize, this second frog seems to suggest even more amphibian presence. The term “Grasshotder” might be a mix between “grasshopper” and “hotter”—perhaps hinting at frogs’ ability to balance insect populations in hot climates. Again, garlic’s role is indirect: by keeping the pests away with garlic, we reduce the need for harmful chemicals that could poison these valuable creatures.
The Plant in the Middle: Why Garlic Works
Now, back to our central figure: the garlic bulb. What gives garlic its powerful pest-repelling powers? The secret lies in a compound called allicin, which is released when garlic is crushed or chopped. Allicin acts as a natural defense mechanism, deterring insects, fungi, and even some bacteria.
This makes garlic an essential part of natural farming and gardening practices. Here are just a few of its roles:
-
Pest deterrent: Garlic sprays and companion planting help keep aphids, ants, and beetles away.
-
Fungal prevention: Garlic’s antifungal qualities help protect against molds and mildews.
-
Soil enhancer: Garlic’s decomposition improves soil health and microbial balance.
-
Pollinator protection: Garlic targets harmful pests but does not harm pollinators like bees.
Beyond the Garden: Garlic in the Home
The value of garlic isn’t limited to agriculture. Many people use garlic in their homes for pest control:
-
Garlic spray for windowsills: Keeps flies and mosquitoes from entering.
-
Garlic oil diffuser: Natural air purification with insect-repelling properties.
-
Clove placement: Some place garlic cloves in closets or drawers to deter moths and ants.
This natural approach helps avoid the buildup of chemical resistance in pests and promotes a healthier indoor environment—especially important for homes with children or pets.
The Hidden Message in the Image
While the names like “Flyosquito” and “Grassshot” may seem fictional, they tell a deeper truth: garlic influences a wide range of species, both positively and negatively. It repels the harmful, supports the helpful, and invites a more harmonious relationship with nature.
The image cleverly blends educational content with artistic whimsy, making the topic of natural pest control accessible and engaging for all ages. It serves as a visual metaphor for balance—how one simple plant, when understood and respected, can become the nucleus of an ecosystem.
Final Thoughts: Garlic as a Green Solution
In an age of environmental concerns and growing awareness of sustainable living, garlic offers a model for low-impact, high-effect solutions. Whether you are a backyard gardener, an organic farmer, or someone looking to reduce chemical exposure in your home, garlic is a versatile ally.
This image invites us to rethink the ordinary. It shows us that even a common kitchen ingredient can hold extraordinary power when we understand its place in nature. With garlic at the center, we can build ecosystems that are not only productive but also protective—where frogs and dragonflies thrive, and harmful insects are kept in check without a single drop of poison.
So the next time you peel a clove of garlic, remember: you’re holding a quiet hero of natural harmony.


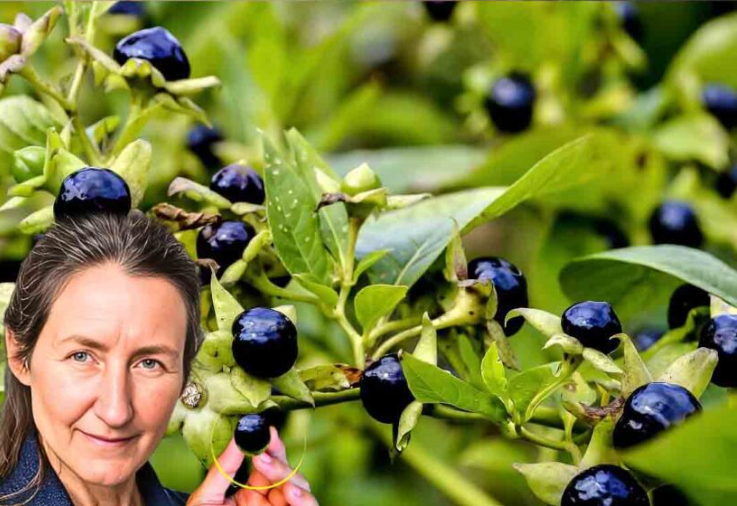
: The Mysterious and Dangerous Plant with a Dark Legacy")