Category

Beauty

Category

Introduction: A Surprising Use for Toothpaste

Who would have thought that an everyday item like toothpaste could have uses beyond ensuring your smile is bright and healthy? An intriguing home remedy has been making the rounds—using toothpaste to lighten age spots. While it might sound unusual, many are turning to this method for an easy, affordable way to deal with these common skin blemishes.

What Are Age Spots?

Age spots, often called liver spots, are small, dark areas on the skin that vary in size and usually appear on areas exposed to the sun. They are completely harmless but can be a cosmetic concern for those who develop them.

Why Toothpaste?

Toothpaste, specifically those varieties that contain baking soda or peroxide, is believed to have bleaching properties that can help in reducing the appearance of age spots. The mild abrasive qualities of toothpaste can also assist in exfoliating the skin and promoting new cell growth.

How to Use Toothpaste on Age Spots

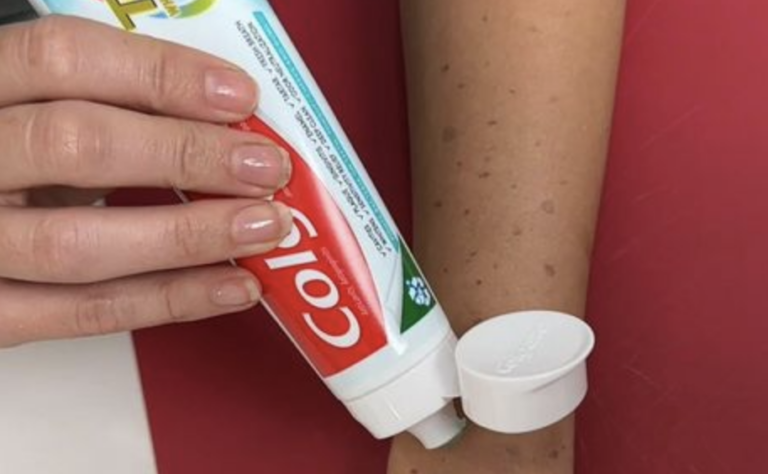
  1. Choosing the Right Toothpaste:
    • Look for a white toothpaste that contains baking soda, peroxide, or both. Gel toothpastes may not be as effective due to their different ingredients and consistency.
  2. Application:
    • Clean the skin where you’ll apply the toothpaste. Ensure the area is dry and free of any other products like creams or oils.
    • Apply a small amount of toothpaste directly to the spots. A thin layer is sufficient.
  3. Timing:
    • Leave the toothpaste on for about 10 minutes. Monitor your skin for any irritation during this time.
    • If you experience discomfort or burning, wash off the toothpaste immediately.
  4. Rinsing:
    • After 10 minutes, gently rinse the area with lukewarm water. Pat the skin dry with a soft towel.
  5. Frequency and Caution:
    • Repeat this process daily for a few weeks and observe if there’s an improvement in the appearance of the spots.
    • Because this is not a dermatologist-recommended treatment, proceed with caution. If you have sensitive skin or are unsure, it’s a good idea to consult with a skincare professional before starting.

Conclusion: A Creative Approach to Skincare

Using toothpaste to lighten age spots is just one of many creative home remedies people experiment with. While it’s not a guaranteed solution, it is a low-cost method you can try out. Whether it works for you or not, it’s always interesting to explore how everyday products can have multiple uses beyond their original purpose. Remember to take care of your skin and consult experts when in doubt!

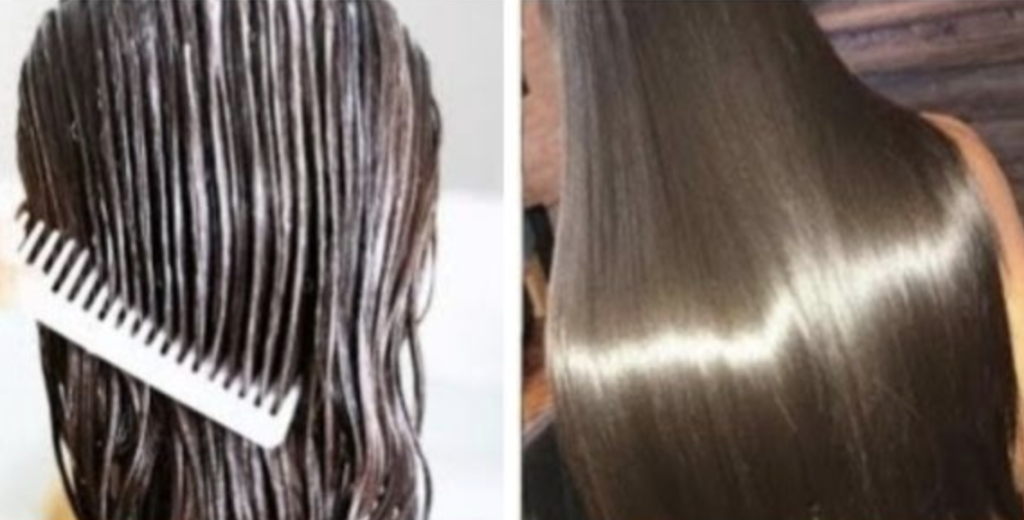
Hey there, friends! If you’re seeking a natural and effective way to pamper your hair, I’ve got an amazing recipe to share with you. This tried and tested hair care treatment will deliver fantastic results, leaving your locks looking and feeling incredible. It’s like a natural keratin treatment for your hair!

Easy-to-Find Ingredients

You’ll be delighted to discover that everything you need for this recipe is likely already in your kitchen. So before we dive in, make sure to watch the video, subscribe to the channel, and share it with your friends. Let’s spread the goodness around!

To begin, grab one whole egg. This recipe is suitable for all hair types, from adults to kiddos and even expecting moms. Beat the egg well in a bowl, then add four tablespoons of natural yogurt. Adjust the quantities based on your hair length. Mix in a tablespoon of honey for extra nourishment.

Now, for the magic ingredient: olive oil. Pour in four tablespoons of this liquid gold. If you have other nourishing oils like coconut or almond oil, feel free to add those too. They all work wonders for your hair! Once everything is nicely mixed, you’ll have a hair mask ready to work its wonders.

Pamper Your Hair

Generously apply the mask from roots to ends, ensuring even distribution throughout your hair. Pay extra attention to your roots for some additional love, then spread the remaining mixture onto the ends. Give your hair a gentle massage to ensure the mask is absorbed.

Let the mask work its magic for about two hours before rinsing it off with your favorite shampoo. Repeat this mask twice a week for optimal results. Trust me, the difference will be noticeable!

Results Worth Waiting For

Here’s the exciting part – in just the first week of using this recipe, you’ll start to see noticeable results! Keep up with the routine for three to four weeks, and you’ll be amazed by the final outcome. Your hair will thank you for the love and care.

So there you have it, folks – your secret weapon for luscious locks. Give this recipe a try and let me know how it works out for you. Until next time, happy pampering!

In the pursuit of radiant, even-toned skin, natural remedies often offer profound benefits, drawing from the wisdom of traditional beauty practices from around the world. Among these treasures is the Japanese rice mask, renowned for its skin-brightening properties and ability to impart a luminous, youthful glow. Let’s explore the secrets behind this magical mask and how you can create your own at home.

The Secret Behind the Mask: Rice, a staple in Japanese skincare, contains vitamins B and E, which aid in cell regeneration and slow down the aging process. These nutrients contribute to a more youthful and vibrant complexion by promoting skin renewal and reducing the appearance of dark spots. The rice mask is particularly effective in lightening the skin and providing an overall brightening effect.

Creating Your Own Japanese Rice Mask: Crafting this magical mask is a simple process that requires just a few ingredients, most of which are likely already in your kitchen. Follow these steps:

Soak two tablespoons of uncooked rice in water until it softens. Drain the rice, reserving the water, and grind the rice into a fine paste. Mix the rice paste with one tablespoon of honey and a small amount of milk until you achieve a smooth, spreadable consistency. Application for Radiant Results: Apply the mask evenly to your face and neck, allowing it to sit for 20 to 30 minutes to allow the nutrients to penetrate deeply into your skin. Afterward, rinse off the mask using the reserved rice water. This not only adds an extra boost of vitamins to your skincare routine but also acts as a natural toner, enhancing the skin-whitening effect of the mask.

Benefits Beyond Skin Deep: Regular use of the Japanese rice mask can lead to visible improvements in skin tone and texture. Its natural ingredients work synergistically to moisturize, exfoliate, and brighten the skin, resulting in a rejuvenated appearance. Additionally, the mask offers a gentle yet effective way to achieve a lighter complexion without the harsh chemicals found in commercial whitening products.

In conclusion, the Japanese rice mask is a testament to the power of natural ingredients in achieving beautiful, glowing skin. This easy-to-make, centuries-old beauty secret allows anyone to experience the luminous, even-toned complexion admired in Japanese beauty culture. Embrace the transformative power of rice on your skin and unveil a radiant, youthful glow with this magical mask.

Before delving into the recipe, it’s imperative to acknowledge that while at-home remedies can supplement oral care, they should never substitute professional dental attention. Regular check-ups and cleanings remain fundamental for optimal oral health.

Homemade Teeth Whitening Recipe:

This recipe amalgamates household ingredients renowned for their natural cleansing attributes.

Ingredients:

  • 2 teaspoons of green tea (ground into powder)
  • 1 clove of garlic, finely minced
  • 1/4 teaspoon of turmeric
  • 2 teaspoons of toothpaste
  • 2 teaspoons of lemon juice

Instructions:

1. Combine the Ingredients: In a small bowl, blend the green tea powder, minced garlic, turmeric, toothpaste, and lemon juice thoroughly until a paste forms.

2. Application: Apply the paste to your toothbrush and gently brush your teeth for two minutes, ensuring coverage across all areas, including those hard-to-reach spots.

3. Rinse Thoroughly: After brushing, rinse your mouth meticulously with water to eliminate any remnants of the mixture.

The Ingredients Unveiled:

  • Green Tea: Renowned for its antioxidant prowess, green tea aids in the removal of surface stains.
  • Garlic: Despite its unconventional presence, garlic harbors antibacterial properties.
  • Turmeric: Familiar in natural remedies, turmeric boasts anti-inflammatory attributes and mild abrasive qualities.
  • Toothpaste: Serving as the cornerstone of any dental regimen.
  • Lemon Juice: With its inherent acidity, lemon juice aids in bleaching stains on the enamel.

Important Points to Consider:

While this recipe may offer an expedient solution for sporadic use, exercise caution to prevent potential enamel erosion due to the acidic elements. Always complement this routine with regular toothpaste brushing.

In Conclusion:

While this homemade teeth whitening concoction furnishes a convenient and straightforward approach, it’s imperative to approach home remedies with circumspection and never forsake routine dental care. A radiant smile is undeniably appealing, yet prioritizing dental check-ups remains paramount for comprehensive well-being. Embrace your brighter smile but remember to uphold regular dental appointments!

If your hair isn’t meeting your expectations, it’s time to try this homemade remedy. With just one herb, you can achieve thicker and more beautiful hair, and the results will pleasantly surprise you. Here’s a guide inspired by a popular YouTube tutorial.

What You’ll Need:

  • 5 cups of water
  • 5 sprigs of rosemary

Method:

  1. Boil the Water: Pour water into a pot and bring it to a boil.
  2. Clean the Rosemary: Rinse the rosemary sprigs in a bowl of water to clean them well.
  3. Infuse the Rosemary: Once the water boils, add the rosemary sprigs to the pot and cover with a lid. Let it simmer for 15 minutes.
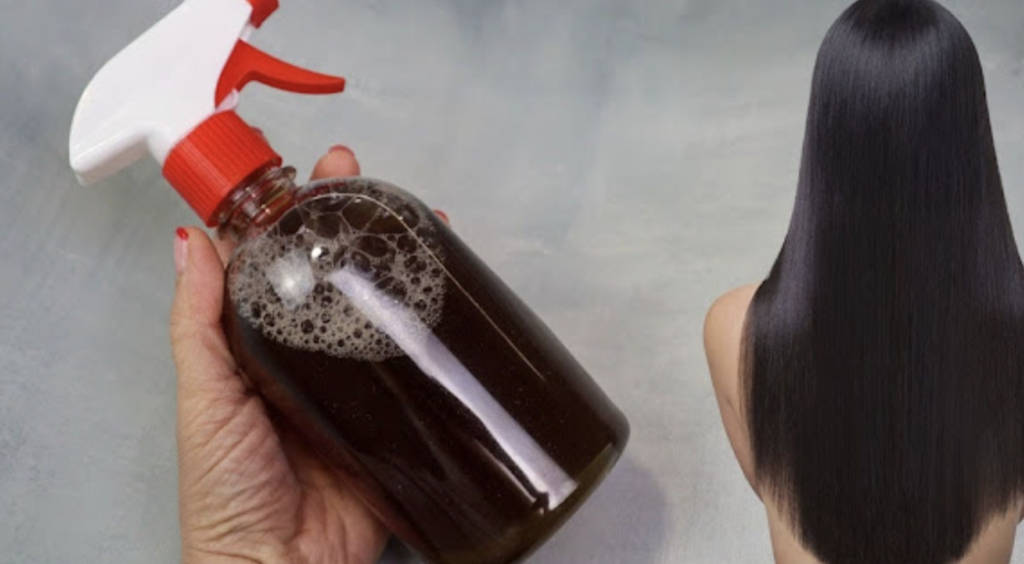
  4. Cool and Strain: After 15 minutes, turn off the stove and set it aside. Let the decoction cool to room temperature. Then, pour the solution into a spray bottle using a strainer and funnel.

Application:

  • Apply to your hair morning and night. After application, your hair will be damp, so spray the decoction generously in the morning to allow it to dry before heading out.
  • Visible results should be noticeable within a month.

Effects of Rosemary on Hair:

  • Rosemary is an effective herb known to combat hair loss and stimulate growth. This rosemary solution also prevents the appearance of gray hairs.
  • For more information, watch the attached video.

Good luck on your hair care journey!

Dealing with various skin concerns like warts, moles, skin tags, blackheads, and age spots can be uncomfortable and affect self-esteem. Fortunately, nature offers effective, safe, and simple remedies to tackle these issues. Discover a guide to natural methods that can contribute to achieving clearer and healthier skin.

Holistic Approaches for Common Skin Issues

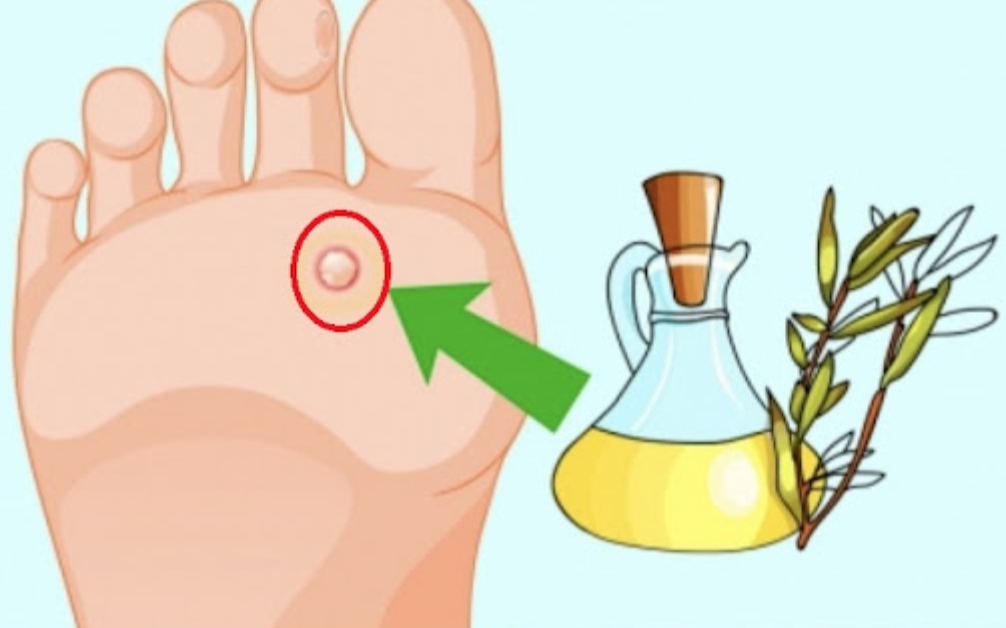
Skin Tags: Combat these small, harmless protrusions by applying apple cider vinegar (ACV) or tea tree oil. Use a cotton ball saturated with ACV or directly dab tea tree oil on the skin tag multiple times a day. Consistent application is crucial, as it may take approximately ten days for tea tree oil to facilitate the skin tag’s natural detachment.

Warts: Caused by the Human Papilloma Virus (HPV), warts can be naturally treated. Soak a cotton ball in ACV, place it on the wart, secure with a bandage, and change it twice daily. Alternatively, cover the wart with duct tape for a week, then soak in water and exfoliate with a pumice stone. These methods are recognized for their efficacy in wart removal.

Moles: Remove moles naturally with crushed garlic or ACV. Apply crushed garlic to the mole for about four hours daily or use ACV with a similar approach. Both ingredients require consistent application for results, with garlic being particularly potent.

Blackheads: Keep your pores clear by steaming your face to open them, followed by deep cleansing. Utilize ACV as a natural astringent to tighten pores, and apply coconut oil for moisturizing and skin protection, preventing future blackheads and promoting a healthy glow.

Age Spots: Apply lemon juice, renowned for its natural bleaching properties, to lighten age spots or liver spots. Regular application is essential, and sunscreen should be applied to protect the skin from further damage.

Embracing Natural Solutions

These natural remedies are not only effective but also provide a gentle alternative to chemical treatments, fostering healthier skin. Patience and consistency are key for optimal results. However, for persistent or severe skin issues, consulting with a dermatologist or healthcare provider is advised to ensure the most appropriate treatment.

By integrating these natural remedies into your skincare routine, you are not just addressing specific skin concerns but also nurturing your skin with the healing power of nature. Welcome to a journey of natural healing and radiant skin!

It’s important to note that while natural remedies like using lemon for teeth whitening can be effective, caution and moderation are key to preventing potential harm to your tooth enamel. Lemon juice is acidic, and frequent or prolonged exposure may lead to enamel erosion and tooth sensitivity. Here are some additional tips and considerations:

  1. Limit Frequency: As mentioned, it’s crucial to limit the frequency of using lemons on your teeth. Once a week, or even less often, is generally recommended to avoid enamel damage.
  2. Use a Straw: If you consume acidic liquids, including lemon juice, consider using a straw. This can help minimize direct contact with your teeth and reduce the risk of enamel erosion.
  3. Wait Before Brushing: After using lemon on your teeth, wait for at least 30 minutes before brushing. Brushing immediately can potentially spread the acid and lead to enamel damage. Rinsing with water after the waiting period is advisable.
  4. Monitor Sensitivity: If you notice increased tooth sensitivity or any discomfort, discontinue the use of lemon for teeth whitening. Consult with your dentist if sensitivity persists.
  5. Balanced Oral Care: Remember that maintaining good oral hygiene, including regular brushing, flossing, and dental check-ups, is crucial for overall dental health. Natural remedies can be complementary but should not replace standard oral care practices.
  6. Consider Alternatives: There are other natural remedies for teeth whitening, such as baking soda or activated charcoal. However, it’s essential to use these alternatives with care and not excessively.
  7. Professional Advice: Before trying any home remedy for teeth whitening, it’s advisable to consult with your dentist. They can provide personalized advice based on your dental health and needs.

While natural remedies can offer a chemical-free approach to teeth whitening, maintaining a balanced and responsible use is key to preserving your dental health. If you have concerns or questions about teeth whitening, it’s always best to seek professional guidance from your dentist.

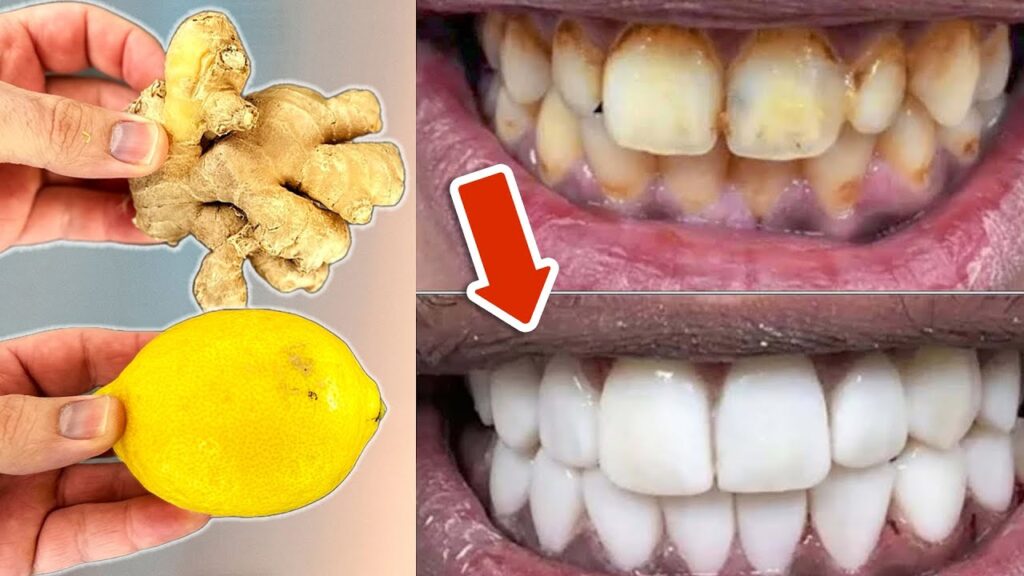
In our pursuit of a radiant, white smile, many of us realize that, over time, our teeth may lose their previous sparkle. Lifestyle choices, dietary preferences, and the passage of time can all contribute to a smile that lacks its former luminosity. However, the journey back to bright teeth doesn’t necessitate a visit to the dentist or expensive treatments. Reassuringly, effective, natural remedies can be found right in your own home to help restore your teeth’s natural shine.

The Power of Simple Ingredients

For those seeking a natural way to brighten their smile, a simple recipe awaits in your kitchen. This method utilizes just three common ingredients: ginger, lemon, and salt. Each ingredient plays a unique role in gently removing discoloration and restoring the natural whiteness of your teeth.

Ginger: Recognized for its anti-inflammatory properties, ginger also contributes to oral health by aiding in the cleaning of teeth and gums. Its mild abrasive texture helps remove surface stains.

Lemon Juice: The natural acidity of lemon juice acts as a bleaching agent, effectively lightening stains on the teeth. It proves to be a potent, natural way to enhance your smile.

Salt: Serving as a natural abrasive, salt gently scrubs away stains on the enamel without causing harm to the teeth when used moderately.

Creating Your Natural Whitening Agent

To prepare your homemade teeth whitener, begin by grating a small amount of fresh ginger. Mix this with three teaspoons of fresh lemon juice to form a paste. Then, stir in half a teaspoon of salt until the mixture is well combined.

Using your regular toothbrush, apply the mixture to your teeth, gently brushing for 2-3 minutes. This natural paste can help lift stains from your teeth, leaving them looking brighter and feeling cleaner.

A Gentle Approach to a More Radiant Smile

It’s recommended to use this natural remedy 2 to 3 times a week. With consistent use, you’ll notice a gradual lightening of stains, leading to a whiter, more radiant smile. This method is not only effective but also embraces a gentle, natural approach to oral care.

Embracing Natural Solutions

As we seek ways to maintain our health and vitality, turning to natural remedies offers a harmonious balance between effectiveness and gentleness. This simple, homemade recipe for teeth whitening is a testament to the power of natural ingredients in enhancing our well-being and confidence.

So, before considering expensive treatments or over-the-counter solutions, why not try this natural approach to brightening your smile? It’s a wonderful way to embrace the simplicity and efficacy of home remedies, all while working towards a brighter, more confident smile.

Holistic Approaches to Eliminating Warts, Blackheads, and Age Spots

Various skin blemishes, such as warts, blackheads, and age spots can impact one’s confidence and overall well-being. Nature offers a diverse range of natural remedies to address these common imperfections.

Natural Remedies for Warts

Fig Tree Milk: Dermatologist Nina Roos recommends this for wart removal, as its sap acts as an exfoliating acid. Research in the International Journal of Dermatology validates its efficacy, attributing it to specific enzymes.

Celandine: Also known as wartweed, it contains coptisine, an alkaloid that combats the cell multiplication of the papillomavirus. Apply the sap directly to the wart, limiting it to the growth due to its corrosive nature.

Dandelion Sap: Effective against warts and various skin issues, apply the sap from a halved dandelion stem onto the wart, cover with a bandage, and repeat twice daily until the wart disappears.

Addressing Age Spots and Hyperpigmentation

Lemon: With brightening and exfoliating properties, lemon helps reduce dark spots. Apply lemon juice with a cotton pad on the affected area, leave for 10 minutes, and rinse with water. Use in the evening to avoid photosensitivity.

Ginger: Recognized in Ayurvedic medicine for its anti-aging and antioxidant properties, rub a slice of ginger root on the affected area 2-3 times a day for about six weeks.

Pineapple: Rich in phenol and sulfur compounds, pineapple is effective against hyperpigmentation. Apply pineapple juice to the face, leave for a few minutes, then rinse and apply a moisturizing mask.

Combatting Blackheads

Tomato: Utilizing its disinfecting properties, tomatoes can eliminate blackheads. Clean your face, apply tomato slices for about 15 minutes, and rinse with lukewarm water.

Lemon and Yogurt: The combination of citric acid from lemons with the properties of yogurt helps regulate the skin and remove blackheads.

Ginger, celebrated for its aphrodisiac and invigorating qualities, is not only a culinary staple in Asian cuisine but also a natural solution for promoting hair growth. Its capacity to boost blood circulation to the scalp suggests a potential acceleration in hair development. Here’s a straightforward DIY ginger treatment for you to explore.

DIY Ginger Hair Treatment Recipe

Ingredients:

  • 500 grams of fresh ginger roots

Preparation:

  • Peel the ginger roots as if preparing for consumption and finely chop them
  • Extract Juice
  • Place the ginger pieces in a juice extractor, juicer, or blender.
  • Add a small amount of water to facilitate the grinding process

Application:

  • Use a strainer to collect the ginger juice in a cup, filtering out the solid pieces.
  • Apply as a Scalp Mask
  • Ensure your hair is dry before application.
  • Gently massage the ginger juice into your scalp with your fingertips.

Leave-In Treatment:

Avoid washing your hair immediately; let the ginger treatment sit on your scalp for at least an hour before rinsing.

Frequency:

Twice Weekly: Repeat the application twice a week for a month.

Consistent use of this ginger treatment may contribute to stimulating hair growth by improving blood circulation to the scalp. Nevertheless, individual hair and scalp characteristics vary, so results may differ. As with any natural remedy, it’s advisable to conduct a patch test initially to ensure there are no adverse reactions.