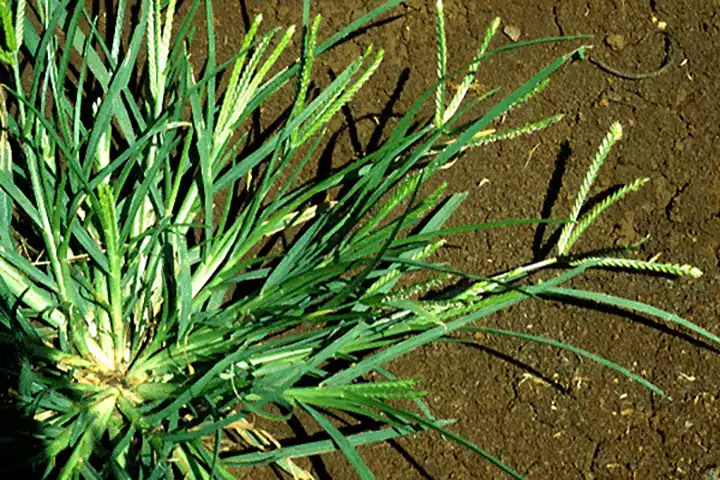
In the vast expanse of our backyards, amidst the commonly disregarded flora, lies a plant with extraordinary medicinal qualities, often overlooked and discarded by many. Known scientifically as Eleusine indica and colloquially as goose grass, this seemingly inconsequential weed is a powerhouse of therapeutic benefits. Its presence in most gardens is ubiquitous, yet its potent ability to combat more than 10 diseases is scarcely acknowledged.
A Closer Look at Goose Grass
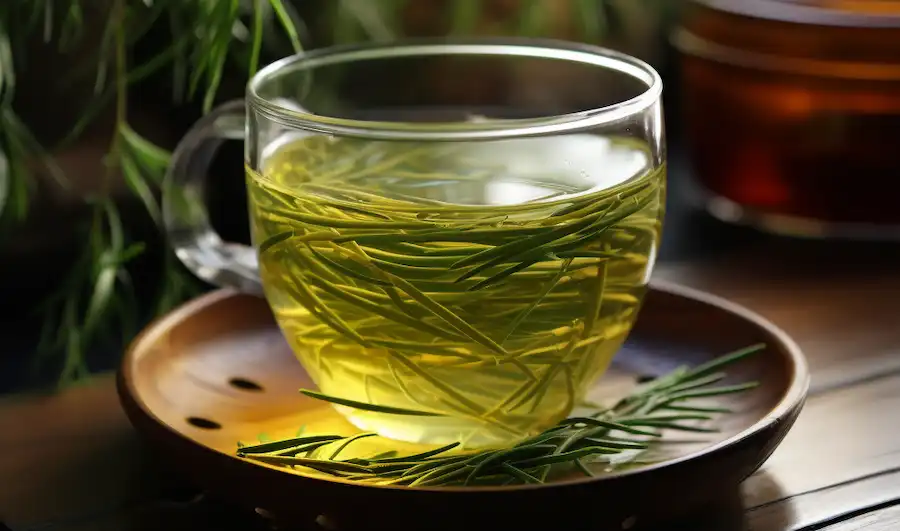
Goose grass thrives in various environments, making it a common sight in yards across the globe. Despite its humble appearance, this herb is a treasure trove of medicinal properties, including anti-inflammatory, antioxidant, antidiabetic, antiallergic, and diuretic qualities. Traditionally, it is brewed into a tea that serves as a remedy for a myriad of health issues.
Broad Spectrum of Health Benefits
The versatility of goose grass in treating diverse ailments cannot be overstated. Below are some of the significant health conditions it addresses:
- Cancer Prevention and Management: Goose grass’s rich antioxidant content is its secret weapon against cancer. Antioxidants neutralize harmful free radicals in the body, which can lead to cancer cell formation. Consuming goose grass tea regularly can form part of a preventive health care regimen aimed at reducing the risk of cancer development.
- Relief for Ovarian Cysts and Fibroids: The anti-inflammatory properties of goose grass make it an excellent natural treatment for reducing swelling and pain associated with ovarian cysts and fibroids. Drinking the tea daily can help alleviate symptoms and promote reproductive health.
- Kidney Disease Support: As a natural diuretic, goose grass increases urine production, aiding in the removal of excess water and salt from the body. This can be particularly beneficial for individuals suffering from kidney diseases, as it helps in managing fluid balance and reducing swelling.
- Diabetes Management: The antidiabetic properties of goose grass can significantly aid individuals with diabetes. By influencing blood sugar levels positively, goose grass tea can be a helpful addition to a diabetes management plan, improving overall glucose control.
- Healing Bleeding and Wounds: To expedite the healing of wounds and stop bleeding, apply a paste made from crushed goose grass directly to the affected area. Its natural properties help in clot formation and wound healing.
- Combatting Parasites: Goose grass has natural laxative effects, which can be beneficial in treating parasitic infections. By facilitating bowel movements, it helps in expelling parasites from the gastrointestinal tract, improving digestive health.
- Pneumonia Recovery: A potent remedy against pneumonia can be made by brewing a tea from the roots of goose grass. Consumed regularly, this tea can significantly reduce pneumonia symptoms and accelerate recovery, often showing results within a matter of days.
- Managing High Blood Pressure: The calming effects of goose grass on the cardiovascular system can help in managing high blood pressure. Regular consumption of goose grass tea may aid in maintaining healthy blood pressure levels.
- Fever Reduction: For those suffering from fever, goose grass can offer relief. Drinking tea made from its cooked roots can help in lowering body temperature and alleviating fever symptoms.
- Aiding Ligament Sprains: The external application of goose grass is also beneficial. For ligament sprains, applying a poultice made from crushed leaves can reduce swelling and pain, aiding in the healing process.
Preparation and Usage for Each Condition
The preparation of goose grass for medicinal use varies slightly depending on the condition being treated:
- For internal conditions such as diabetes, kidney disease, high blood pressure, and fever, brewing a tea from the leaves or roots is recommended. Use a handful of goose grass per half liter of water, boil for 3 minutes, and consume one glass daily.
- For external applications, such as wounds and sprains, create a paste by crushing fresh leaves. Apply this directly to the affected area for relief and healing.
Embracing Goose Grass as a Natural Healer
The comprehensive healing properties of goose grass underscore its potential as a powerful natural remedy for a wide range of health issues. By understanding the specific preparations and applications for each condition, we can unlock the full potential of this common yet potent plant, integrating it into our wellness routines for improved health and vitality.