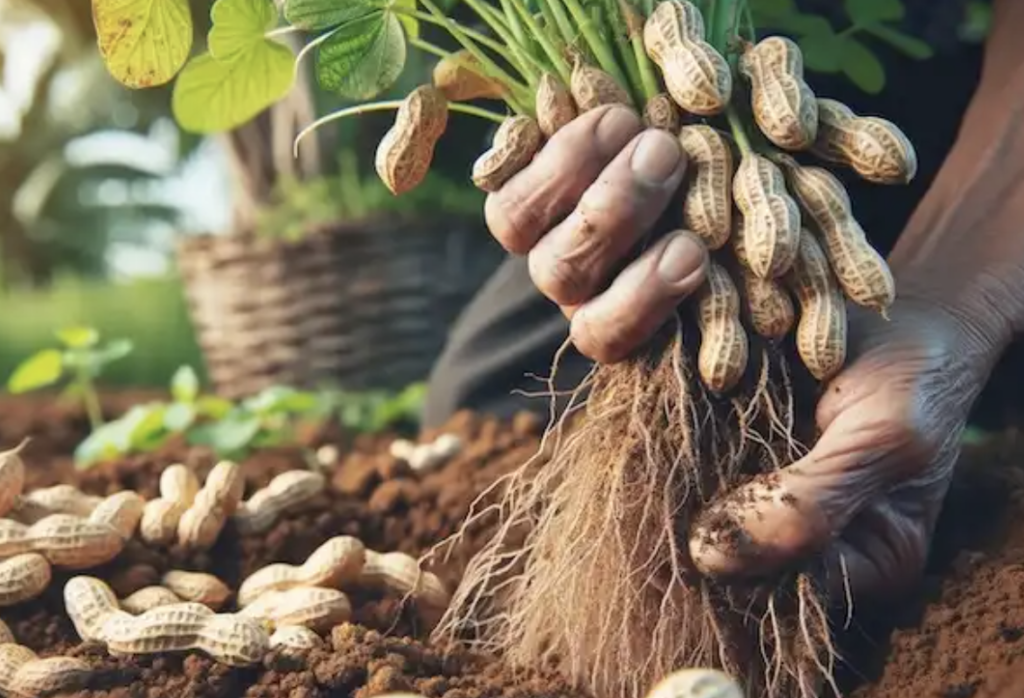
Growing peanuts from store-bought nuts is a rewarding gardening project that can yield delicious results. Follow these steps to get started:
Step 1: Choosing Peanuts
- Opt for fresh, raw, uncooked peanuts in their shells.
- Avoid roasted or salted peanuts as they won’t germinate.
Step 2: Preparation and Planting
- Peanuts require a long growing season (100-130 frost-free days).
- Start indoors 5-8 weeks before the last frost date for an early start, especially in Northern climates.
- Plant in well-draining, loose soil, adding sand and aged compost if needed.
- Sow seeds 1-2 inches deep and 24-36 inches apart in rows spaced at least 72 inches apart.
Step 3: Location and Soil
- Choose a sunny site, as peanuts need full sun.
- Use row covers to protect young plants from spring frosts.
- Soil should be light, loamy, and slightly acidic (pH 5.5-7.0).
Step 4: Watering and Care
- Water at least 1 inch per week, maintaining even moisture but not waterlogging the soil.
- Add mulch once seedlings are half a foot tall to retain moisture and control weeds.
Step 5: Fertilization
- Peanuts are nitrogen-fixers, so they require less nitrogen.
- Focus on calcium, as it’s crucial for pod development.
- Use a low-nitrogen or balanced fertilizer before planting.
Step 6: Pruning and Propagation
- Pruning isn’t typically required but may be done for maintenance.
- Propagate peanuts using seeds, selecting healthy, mature ones for saving and planting the following spring.
Step 7: Harvesting and Storing
- Harvest time is about 100-150 days after planting.
- Remove the entire plant from the soil for harvesting.
- Store raw peanuts in a mesh bag in a dry place or roast them for consumption.
Growing peanuts can be a fun and fruitful endeavor, especially if you have a sunny spot and a bit of patience. With the right care, you can enjoy home-grown peanuts right from your backyard!
