Category

Recipes

Category

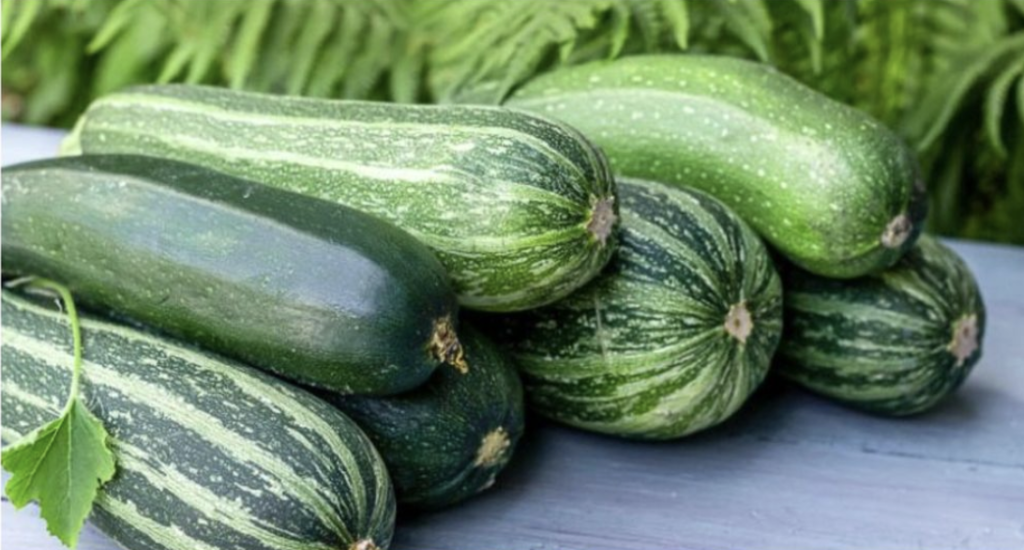
For those craving a flavorful and healthy meat substitute, look no further than zucchini. This versatile vegetable offers a delightful solution that might just surprise your taste buds. With a recipe that’s quick to prepare, you’ll unveil a new favorite bursting with flavor. Here’s how to whip up this mouthwatering zucchini dish guaranteed to impress at any meal.

Ingredients:

  • 2 zucchinis
  • Salt (to taste)
  • Black pepper (to taste)
  • 3 eggs
  • 100g (3.5 oz) grated cheese
  • Italian herbs (to sprinkle)
  • Dash of red paprika
  • 100g (3.5 oz) breadcrumbs
  • 50g (1.8 oz) flour
  • Olive oil (for frying)

Preparation Steps:

1. Grate the Zucchini: Begin by finely grating the zucchinis. Sprinkle with salt and let sit for 15-20 minutes to draw out excess moisture.

2. Prepare the Egg Mixture: Beat 3 eggs in a bowl and mix in grated cheese, Italian herbs, and red paprika for a rich coating.

3. Get the Coating Ready: Combine breadcrumbs and flour in a separate plate for the initial crispy layer.

4. Coat the Zucchini: Roll grated zucchinis in the flour and breadcrumb mixture, then dip them into the egg mixture until well-coated.

5. Cook to Perfection: Heat olive oil in a frying pan over medium heat. Fry coated zucchinis for 4-5 minutes on each side, covered. Add an extra egg towards the end and cook until done.

This quick and delicious zucchini dish showcases the versatility of vegetables and the joy of cooking something unique. With its crispy exterior and tender inside, seasoned perfectly with herbs and spices, it’s a culinary delight that might just rival meat dishes. Give it a try and savor the simplicity and flavor of this wonderful recipe.

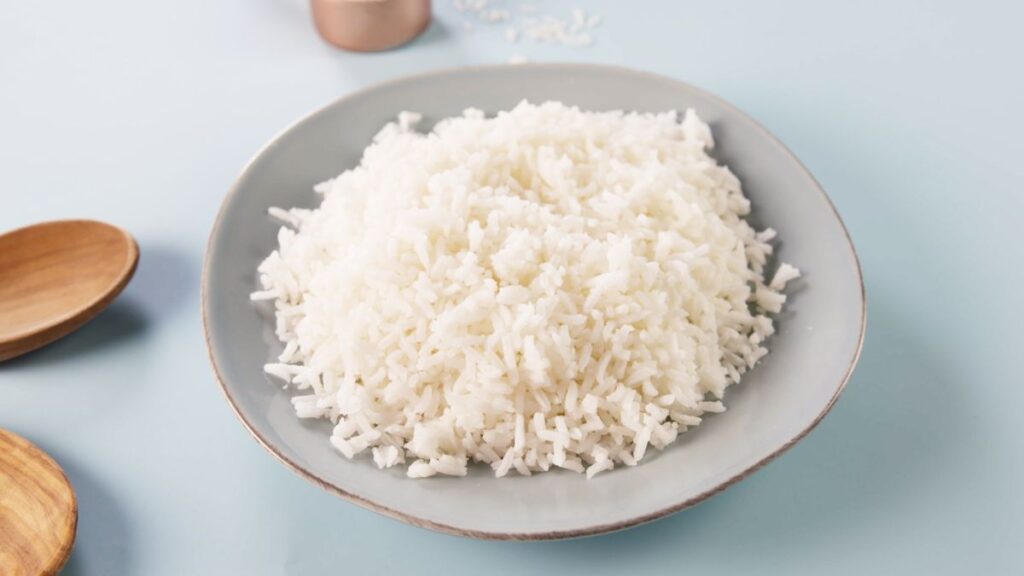
Cooking rice may seem as basic as boiling water, but there’s an art to transforming this staple grain into something extraordinary. Discover the hidden secret top chefs use to elevate their rice dishes to gourmet status.

The Secret Ingredient: Broth

Unlock the magic of flavorful rice by swapping water for broth. Learn why this simple change can make a world of difference in your culinary creations.

Why Broth Works Wonders

Understand the science behind using broth to infuse your rice with layers of flavor. Explore how each grain absorbs the essence of herbs, vegetables, and meats, turning ordinary rice into a symphony of taste.

Implementing the Secret: Step-by-Step Guide

Follow these easy steps to incorporate broth into your rice cooking routine and take your dishes from ordinary to extraordinary.

  • Choose Your Broth: Tailor your choice of broth to complement the flavors of your dish, whether it’s vegetable for light meals or chicken/beef for heartier fare.
  • Measure Correctly: Maintain the perfect liquid-to-rice ratio for optimal results.
  • Cook as Usual: Stick to your preferred cooking method, but with the flavorful twist of using broth instead of water.

Extra Tips for Rice Perfection

Enhance your rice cooking experience with these expert tips:

  • Sauté for Aromatics: Add depth by sautéing rice before cooking, using olive oil or butter for a nutty flavor.
  • Experiment with Herbs and Spices: Elevate your dish with exciting flavors like bay leaf, cinnamon, or cardamom pods.

Conclusion: Elevate Every Meal

Master the art of rice cooking and turn every meal into a memorable experience. Discover how simple tweaks can bring extraordinary flavor to your table, one grain at a time.

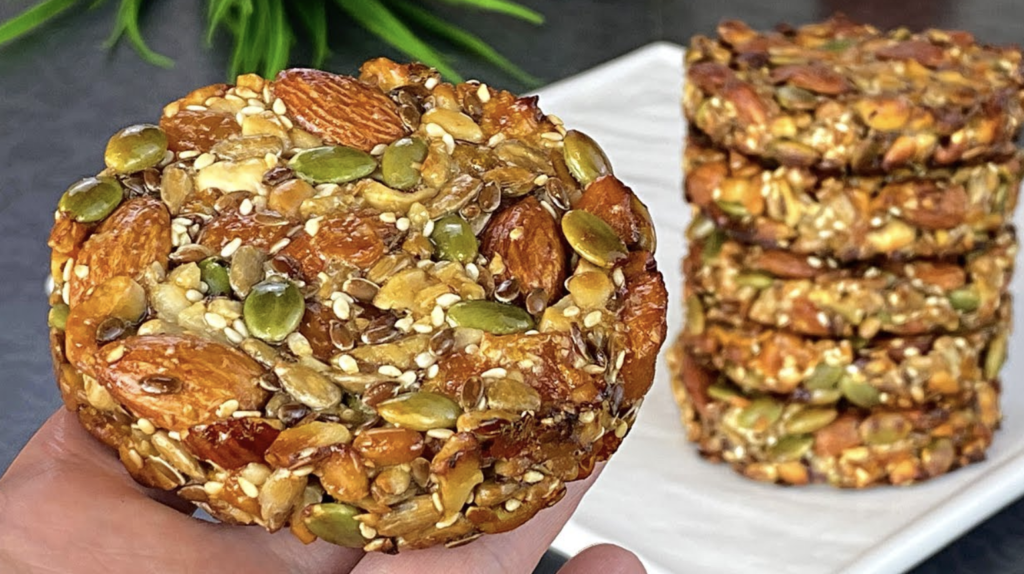
Embark on a culinary journey enriched with wholesome ingredients and delightful flavors as we explore two delectable biscuit recipes. From the vibrant medley of dried fruits to the rich nutty textures, these recipes promise not only satisfaction to the palate but also nourishment for the body.

Recipe 1: Nut and Seed Biscuits

Ingredients:

  • 70g (2.5 oz) dried apricots
  • 50g (1.8 oz) almonds
  • 70g (2.5 oz) oats
  • 30g (1 oz) pumpkin seeds
  • 40g (1.4 oz) sunflower seeds
  • 20g (0.7 oz) sesame seeds
  • 20g (0.7 oz) flaxseeds
  • 60g (2 oz) cashews
  • 20g (0.7 oz) pistachios
  • 20g (0.7 oz) walnuts
  • 20ml (0.7 fl oz) honey
  • 1 egg white
  • Pinch of salt

Instructions:

  1. Soak dried apricots in cold water for 15-20 minutes, then chop finely.
  2. Mix all nuts and seeds together in a bowl.
  3. Add chopped apricots, honey, egg white, and a pinch of salt to the nut and seed mixture.
  4. Form the mixture into biscuits and place them on a lined baking tray.
  5. Bake in a preheated oven at 180°C (360°F) for 15-20 minutes until golden brown.
  6. Enjoy these nutrient-packed biscuits as a wholesome snack or accompaniment to your favorite beverage.

Recipe 2: Peanut and Sesame Biscuits

Ingredients:

  • 100g (3.5 oz) peanuts
  • 20g (0.7 oz) white sesame seeds
  • 20g (0.7 oz) black sesame seeds
  • 40g (1.4 oz) pumpkin seeds
  • 20ml (0.7 fl oz) Jerusalem artichoke syrup or alternative sweetener
  • 1 ripe banana

Instructions:

  1. Blend peanuts until finely ground.
  2. Mix ground peanuts, sesame seeds, pumpkin seeds, syrup, and mashed banana together.
  3. Form the mixture into biscuits and place them on a lined baking tray.
  4. Bake in a preheated oven at 180°C (360°F) for 15-20 minutes until crisp and golden.
  5. Indulge in these flavorful biscuits guilt-free, knowing they are packed with wholesome goodness.

Are you worried about your heart’s well-being? Are you on the lookout for a natural remedy to clear arteries and enhance circulation? You’re in luck! Today, we introduce a remarkable solution inspired by a renowned German clergyman. Crafted from just three powerful ingredients, this elixir not only offers simplicity in preparation but also boasts a plethora of cardiovascular benefits.

Ingredients Needed:

Prepare the following ingredients for this heart-healthy elixir:

  • 30 cloves of garlic
  • 5 organic lemons (with peel)
  • 1 liter of filtered or still water

How to Prepare the Heart’s Elixir:

Follow these simple instructions to create this potent elixir:

  1. Peel and Wash: Peel the garlic cloves and wash the lemons thoroughly.
  2. Chop Lemons: Chop the lemons into small pieces, including the peel.
  3. Blend: Place the chopped lemons and peeled garlic cloves into a blender. Blend the ingredients thoroughly until a smooth mixture is achieved.
  4. Boil: Transfer the blended mixture into a pot and add one liter of water. Stir well and heat until it reaches a boil.
  5. Strain and Store: Once boiling, remove the mixture from heat and strain it. Pour the strained liquid into sanitized bottles and refrigerate.

How to Use the Heart’s Elixir:

Incorporate this heart-healthy elixir into your daily routine with the following steps:

  1. Daily Consumption: Consume 50 milliliters of the elixir each day, preferably two hours before or after your main meal.
  2. Treatment Duration: Continue this regimen for a total of twenty-five days.
  3. Take a Break: Take a 10-day break after completing the initial 25-day treatment cycle.
  4. Second Round: After the break, resume the 25-day treatment cycle for a second round if desired.
  5. Additional Rounds: Follow with another 10-day hiatus before considering a third round, if needed.

Improve your heart health naturally with our heart-healthy elixir, and enjoy the benefits of better circulation and clearer arteries. Try it today!

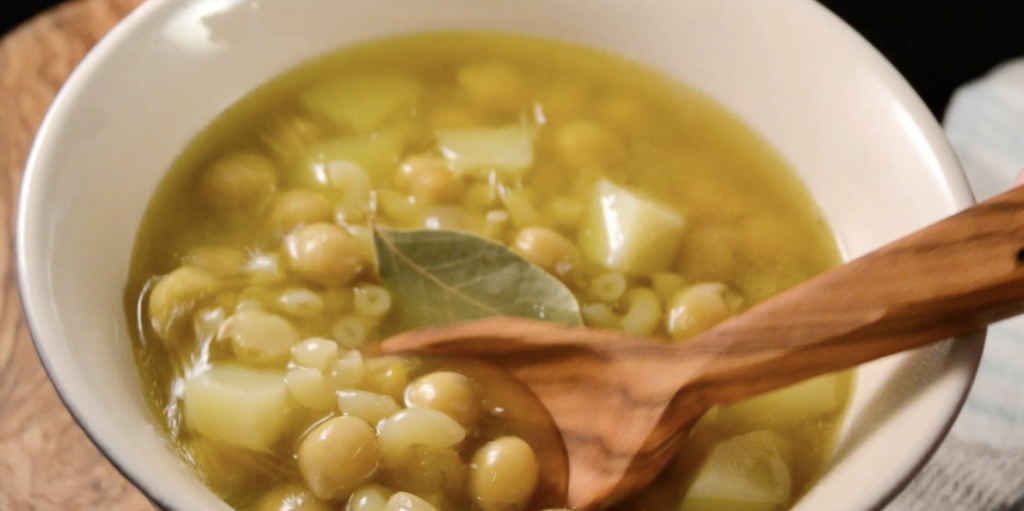
Explore a heartwarming and flavorful dish destined to enhance anyone’s culinary repertoire. This uncomplicated yet nourishing recipe marries the rustic allure of chickpeas with the familiar comfort of potatoes, elevated by a lively twist of orange juice. Ideal for those who relish wholesome dining, this culinary creation not only tantalizes taste buds but also introduces a touch of healthful living to the dining experience.

Ingredients:

  • 3-4 tablespoons of oil
  • 1 tablespoon tomato paste
  • 1 finely chopped celery stalk
  • 1 cup chickpeas (soaked overnight if using dry, or canned for convenience)
  • 1 diced onion
  • 2 cubed potatoes
  • Black pepper, chili pepper, and salt to taste
  • Orange juice for a refreshing finish

Preparation:

Commence with the Basics: Heat oil in a large pot over medium heat. Once the oil shimmers, incorporate the tomato paste, allowing it to cook for a minute or two. This step unlocks the deep flavors of the tomato paste, establishing a rich foundation for the stew.

Sauté the Aromatics: Add finely chopped celery and diced onion to the pot. Sauté until they soften and become fragrant, establishing the aromatic foundation of the dish.

Incorporate the Heart: Introduce cubed potatoes and soaked chickpeas to the pot. Chickpeas bring a delightful texture and protein punch, while potatoes offer comforting creaminess.

Season: Season the mixture with black pepper, chili pepper, and salt, adjusting according to preference. The spices impart warmth and depth, enhancing the overall flavor profile of the stew.

Simmer to Perfection: Cover the pot and let the stew gently simmer. This slow cooking process allows the ingredients to meld harmoniously, creating a rich and layered taste experience.

Finish with a Citrus Burst: Just before serving, add a generous splash of orange juice to the stew. This introduces a delightful brightness and an unexpected freshness that elevates the entire dish.

This timeless chickpea and potato stew, with its simple preparation and healthful ingredients, transcends mere sustenance; it’s a comforting embrace in edible form. Whether it’s a chilly evening or a desire for a nourishing repast, this dish is certain to gratify both the heart and the palate. Revel in the wholesome goodness and savor the flavors that evoke the simple joys of cooking and dining well.

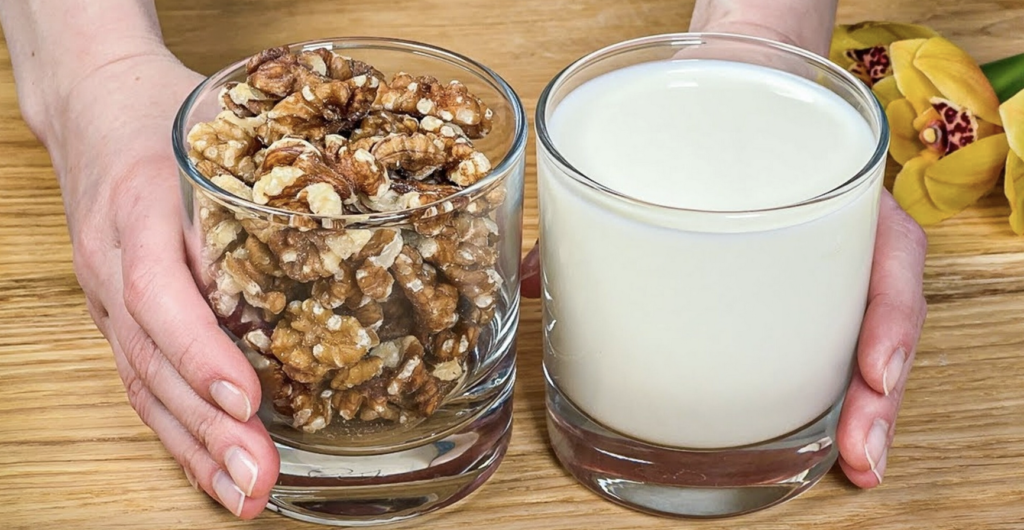
In the world of sweet treats and healthful eats, there’s a simple pleasure that stands out for its simplicity, nutritional value, and incredible taste. It’s a dessert that combines the rich flavors and textures of nuts with the creamy goodness of milk, creating a delightful concoction that’s both nourishing and satisfying. Whether you’re seeking a quick indulgence after a meal or a healthful snack to brighten your day, this nuts and milk dessert is a go-to recipe that promises delight in every spoonful – and it’s ready in just 5 minutes!

The Wonders of Nuts and Milk Combined

Nuts are a treasure trove of health benefits, packed with essential nutrients, including healthy fats, proteins, vitamins, and minerals. They contribute to heart health, support brain function, and offer a satisfying crunch. Milk, with its high-quality protein and rich calcium content, complements nuts perfectly, making for a balanced and delicious treat.

How to Whip Up This Heavenly Dessert

Ingredients:
  • A handful of your favorite nuts (almonds, walnuts, cashews, or a mix)
  • 1 cup of milk (dairy or any plant-based alternative)
  • Optional sweeteners: honey, maple syrup, or a sprinkle of cinnamon for extra flavor
Preparation:
  1. Chop the Nuts: Start by coarsely chopping the nuts. This adds texture and releases their natural oils, enhancing the flavor of your dessert.
  2. Warm the Milk: Gently heat the milk in a saucepan until it’s warm but not boiling. If you’re using a plant-based milk, almond or coconut milk are excellent choices for their natural sweetness and creamy texture.
  3. Combine and Sweeten: Pour the warm milk over the chopped nuts in a bowl. If you like your dessert a bit sweeter, add a drizzle of honey or maple syrup, or a dash of cinnamon for a spicy twist.
  4. Serve Immediately: Enjoy this warm, comforting dessert right away, savoring the nutty crunch against the smooth, rich milk.

A Dessert That Loves You Back

This nuts and milk dessert isn’t just quick and delicious; it’s also a heartwarming reminder of how food can be both nourishing and a source of joy. It’s perfect for anyone looking for a healthful treat that doesn’t skimp on flavor or satisfaction. So, the next time you’re pondering over a quick, nutritious snack or dessert option, remember that the best flavors are often the simplest. Here’s to enjoying a bowl of health and happiness in just 5 minutes!

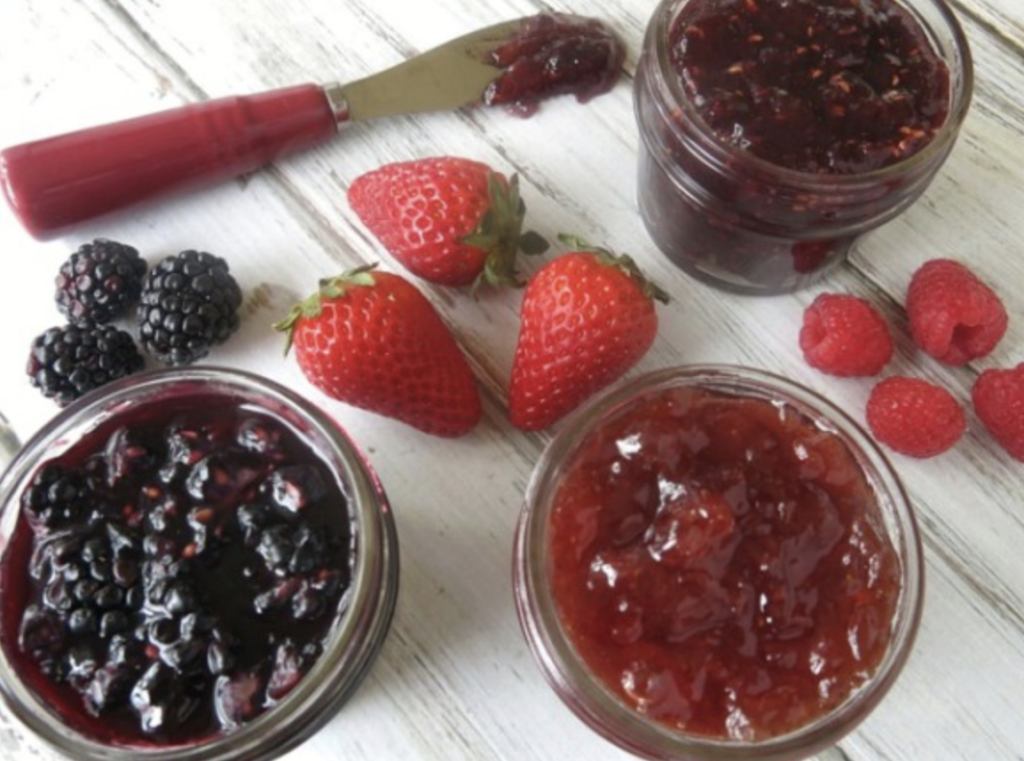
Embarking on your morning with a sweet and homemade treat need not entail compromising your commitment to health. For those seeking to curtail sugar intake without forfeiting flavor, we present a delightful surprise – a swift and straightforward no-sugar jam recipe, perfect for enhancing your morning toast, oatmeal, or yogurt. This recipe harnesses the inherent sweetness of fruit, complemented by a few healthful ingredients, resulting in a jam so delectable you’ll find it hard to believe it’s entirely sugar-free.

Embracing Fruit-Based Sweetness: Berries, apples, and peaches, rich in natural sugars that gracefully caramelize during cooking, serve as an ideal foundation for a no-sugar jam. While our recipe spotlights berries for their antioxidant properties and vibrant flavor, feel free to explore various fruit options to suit your taste.

Ingredients:

  • 2 cups of fresh or frozen berries (such as strawberries, raspberries, or blueberries)
  • 2 tablespoons of chia seeds
  • 1 tablespoon of fresh lemon juice
  • Optional: A drizzle of honey or pure maple syrup for extra sweetness

Instructions:

  1. Prepare the Fruit: Rinse and chop fresh berries if using; otherwise, use frozen berries directly.
  2. Cook the Berries: Place the berries in a saucepan over medium heat. As they warm up, they will naturally break down and release their juices. Assist the process with a fork or potato masher.
  3. Add Lemon Juice: Stir in the fresh lemon juice to accentuate the natural fruit flavors and add a delightful brightness to the jam.
  4. Thicken with Chia Seeds: Once the fruit achieves a saucy texture, incorporate the chia seeds and stir well. Chia seeds not only contribute to the jam’s health benefits but also act as a natural thickening agent. Reduce the heat and simmer the mixture for a few minutes until it attains a jam-like consistency.
  5. Cool and Serve: Remove from heat and let the jam cool. It will continue to thicken during this time. Store in an airtight container in the refrigerator.

This no-sugar jam stands as proof that life’s sweet pleasures can be savored without the addition of sugar. Whether generously spread on a slice of whole-grain toast, swirled into morning oatmeal, or spooned atop Greek yogurt, this jam promises to infuse your breakfast table with both joy and wellness. Revel in the freshness, flavor, and simplicity of homemade jam any day of the week!

Maintaining a robust immune system is essential for year-round protection against viruses and bacteria. Before diving into the recipe, let’s share five tips to bolster your immune system.

  1. Embrace a well-balanced diet abundant in fruits and vegetables, featuring a colorful array such as broccoli, cabbage, garlic, tomatoes, carrots, spinach, citrus fruits, nuts, dark berries, and grapes. Make it a point to eat a variety of hues for optimal nutrition.
  2. Prioritize vitamin D for a resilient immune system, particularly during winter when many individuals face deficiencies. Consider incorporating supplements to fortify your immune systemB.
  3. Engage in regular exercise, focusing on endurance sports like running, swimming, and cycling. Begin gradually to avoid overexertion, which could have counterproductive effects on your immune system.
  4. Minimize stress whenever possible, as persistent stress weakens the immune system and creates favorable conditions for pathogen multiplication. Take proactive steps to slow down before stress becomes overwhelming.
  5. Ensure sufficient sleep, recognizing its role in reducing susceptibility to infections and colds. Inadequate sleep leads to a decrease in defense cells and compromises the immune system.

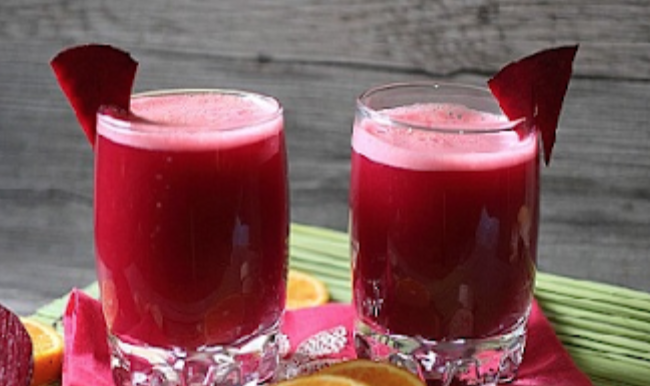
For an immunity boost and protection against winter colds, consider incorporating a ginger shot into your routine. This immune-boosting juice, enriched with the delightful flavors of apples, oranges, ginger, and beetroot, promises both taste and health benefits.

Ingredients for 750 ml:

  • 2 peeled and quartered oranges
  • 3 cored apples, roughly cubed
  • 1 well-washed beetroot
  • 30 g fresh ginger

To prepare, peel and quarter the oranges, remove the apple cores, chop them into rough cubes, wash the beetroot, and peel the ginger. Gradually add all the ingredients to a juicer and extract the juice. Enjoy it fresh and cold with ice cubes.

Alternatively, blend all the ingredients in a blender at the highest setting. Strain the juice through a fine sieve or a nut milk bag to eliminate plant fibers, providing a fresh juice alternative without the need for a juicer. Treat yourself to this nutritious beverage!

Ginger, celebrated for its aphrodisiac and invigorating qualities, is not only a culinary staple in Asian cuisine but also a natural solution for promoting hair growth. Its capacity to boost blood circulation to the scalp suggests a potential acceleration in hair development. Here’s a straightforward DIY ginger treatment for you to explore.

DIY Ginger Hair Treatment Recipe

Ingredients:

  • 500 grams of fresh ginger roots

Preparation:

  • Peel the ginger roots as if preparing for consumption and finely chop them
  • Extract Juice
  • Place the ginger pieces in a juice extractor, juicer, or blender.
  • Add a small amount of water to facilitate the grinding process

Application:

  • Use a strainer to collect the ginger juice in a cup, filtering out the solid pieces.
  • Apply as a Scalp Mask
  • Ensure your hair is dry before application.
  • Gently massage the ginger juice into your scalp with your fingertips.

Leave-In Treatment:

Avoid washing your hair immediately; let the ginger treatment sit on your scalp for at least an hour before rinsing.

Frequency:

Twice Weekly: Repeat the application twice a week for a month.

Consistent use of this ginger treatment may contribute to stimulating hair growth by improving blood circulation to the scalp. Nevertheless, individual hair and scalp characteristics vary, so results may differ. As with any natural remedy, it’s advisable to conduct a patch test initially to ensure there are no adverse reactions.

Here’s a delightful and effective natural remedy for alleviating cough and bronchitis, suitable for both children and adults. This blend of banana and honey is not only tasty but may become a pleasantly surprising addition to your routine.

Ingredients:

  • 2 tablespoons of Organic Honey
  • 2 Organic Bananas
  • 400 ml of Water

Preparation Steps:

  1. Peel and Mash Bananas: Peel the bananas and mash them using a fork.
  2. Cook Banana Mixture: Boil 400 ml of water in a saucepan. Add the mashed bananas and stir briefly. Remove the saucepan from the heat.
  3. Cool and Add Honey: Let the mixture cool for about thirty minutes. Once cooled, add the honey and stir until it forms a smooth, uniform cream.

Dosage: Consume approximately 100 ml of this mixture four times a day.

Important Warnings:

  • Pregnant and Breastfeeding Women: Consult with a doctor before trying this remedy if you are pregnant, breastfeeding, or undergoing any special medical treatment.
  • Medical Consultation: If symptoms persist, it is crucial to consult a medical specialist to identify the underlying causes of your condition and receive appropriate treatment.

Remember, while natural remedies can be beneficial, they should not replace professional medical advice and treatment.