If you’re looking to take your daily coffee to the next level with an extra dose of flavor and health benefits, this easy coffee recipe with ginger and a secret twist of cinnamon is the perfect choice! This combination not only delivers an amazing taste but also boosts digestion, improves focus, and strengthens the immune system. Ready to try a new way to enjoy your coffee? Let’s dive into this flavorful, energizing recipe!

The Power of Ginger, Cinnamon, and Coffee
Coffee alone can already boost your energy and improve your focus, but when combined with ginger and a secret touch of cinnamon, it becomes a powerhouse of flavor and health benefits. Ginger is known for its ability to stimulate digestion and fight inflammation, while cinnamon brings a rich, aromatic sweetness along with potent antioxidants. Together, these ingredients create a unique coffee experience that not only tastes amazing but also supports your overall well-being.
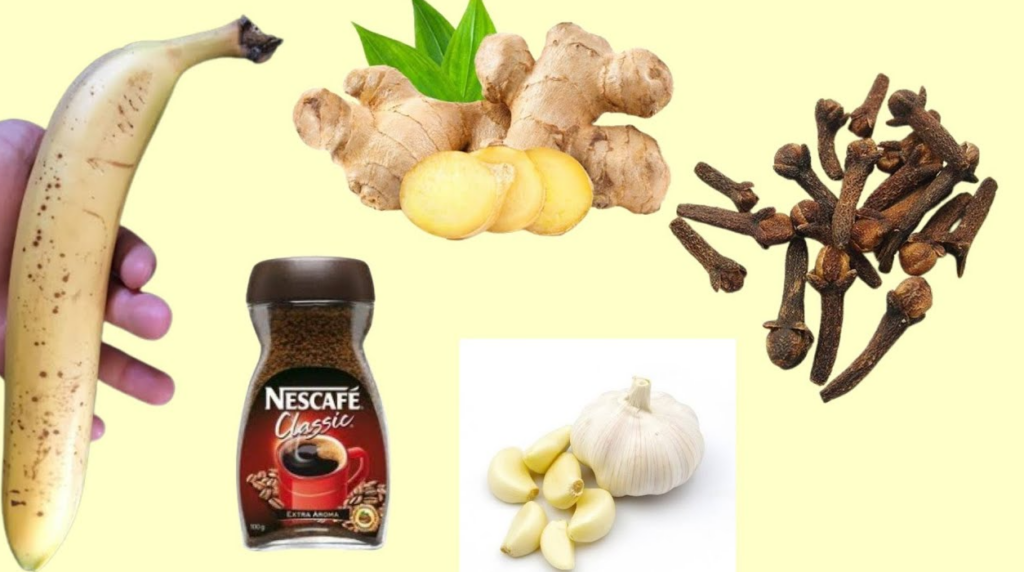
Ingredients You’ll Need:
- 1 cup of freshly brewed coffee (hot or cold, your choice)
- 1/2 teaspoon of freshly grated ginger or ground ginger
- 1/4 teaspoon of ground cinnamon (the secret ingredient)
- 1–2 teaspoons of honey or your preferred sweetener (optional)
- A splash of milk or cream (optional)
Instructions:

1. Brew Your Coffee
Start by brewing a fresh cup of your favorite coffee. Whether you prefer a strong espresso shot, a rich French press brew, or a classic drip coffee, choose what works best for you. The key here is that your coffee should be freshly brewed to ensure maximum flavor.
2. Add Ginger
While your coffee is still hot, stir in 1/2 teaspoon of grated ginger or ground ginger. Ginger has a natural warmth that infuses beautifully with the coffee, creating a spicy kick that not only adds a unique flavor but also provides digestive benefits. Ginger is known to improve digestion and soothe the stomach, making it a perfect addition to your coffee.
3. Sprinkle Cinnamon
Here’s the secret twist! Add 1/4 teaspoon of ground cinnamon to the mix. This subtle spice enhances the flavor profile of the coffee, creating a natural sweetness that complements the bold taste of the brew. Plus, cinnamon is packed with antioxidants, which help fight free radicals and reduce inflammation in the body.
4. Sweeten (Optional)
To balance out the spicy and bitter flavors of ginger and coffee, you can add 1–2 teaspoons of honey or your preferred sweetener. Honey is a natural sweetener that pairs wonderfully with the spiciness of ginger and the richness of cinnamon. However, this step is entirely optional—add as much or as little as you like.
5. Enhance with Milk or Cream (Optional)
If you enjoy a creamier texture, add a splash of milk or cream to your coffee. This will not only enhance the smoothness of your coffee but also provide a rich, velvety finish that’s perfect for cozy mornings or relaxing evenings.
6. Mix and Serve
Stir everything well to ensure the ginger, cinnamon, and sweetener are evenly distributed. Serve your coffee hot, or for an iced version, let it cool and pour it over ice cubes for a refreshing twist. No matter how you choose to enjoy it, this invigorating coffee mix is sure to become your new favorite.
Why This Coffee Works So Well:

Ginger:
Ginger adds a spicy warmth to your coffee that invigorates the senses and promotes better digestion. It’s also known for its anti-inflammatory properties, which can help reduce bloating and improve gut health. Drinking ginger-infused coffee can help calm the stomach and alleviate nausea, making it the perfect morning drink or midday pick-me-up.
Cinnamon:
Cinnamon is more than just a delicious spice; it’s a powerhouse of antioxidants that fight oxidative stress and inflammation in the body. By adding cinnamon to your coffee, you’re not only enhancing the flavor but also providing your body with additional health benefits. Cinnamon has been linked to better blood sugar control and improved heart health, making it a great addition to this energizing drink.
Honey:
Honey adds natural sweetness, balancing out the spicy and bold flavors of ginger and coffee. It also brings its own health benefits, including antimicrobial properties and antioxidants. Honey can soothe the throat, making this recipe a great option for those who want a warm, comforting drink with added benefits.
The Benefits of This Coffee Mix:
- Digestive Support: Ginger aids digestion, making this coffee perfect for those who struggle with bloating or stomach discomfort. It can help regulate your digestive system and provide relief from nausea.
- Energy Boost: Coffee provides the much-needed caffeine kick to start your day, while the natural sugars in honey offer sustained energy without the crash.
- Antioxidant Power: Both cinnamon and coffee are rich in antioxidants, helping to fight free radicals, reduce inflammation, and protect your body from oxidative stress.
- Mental Clarity and Focus: The caffeine in coffee, combined with the brain-boosting effects of ginger, helps you stay sharp and focused, perfect for tackling work or study sessions.
- Immune Support: Cinnamon and honey are both known for their immune-boosting properties, which help protect your body from illness and promote overall well-being.
Final Thoughts:
This simple coffee mix with ginger, cinnamon, and a hint of honey is a game-changer for your daily routine. It’s not only a flavorful and satisfying drink but also an easy way to improve your digestion, boost your energy, and support your immune system. With just a few ingredients, you can transform your regular cup of coffee into a health-boosting elixir that’s delicious and invigorating.
So, why not give this recipe a try? Whether you’re sipping it in the morning to kickstart your day or enjoying it as an afternoon treat, this coffee mix with ginger and cinnamon is a simple, effective, and delightful way to take your coffee experience to the next level. Let us know how it works for you and share any of your own favorite coffee hacks in the comments!