Avocado lovers, rejoice! This quick and easy recipe transforms a simple avocado into a mouthwatering appetizer that’s perfect for any occasion. Packed with nutrients and bursting with flavor, this dish is ready in just 10 minutes. Let’s get started!
Why Avocado?
Avocados are creamy, delicious, and full of healthy fats, vitamins, and antioxidants. They pair perfectly with fresh ingredients, making them the star of this irresistible appetizer.
Ingredients
- 2 ripe avocados
- 1 small tomato, diced
- 1 small red onion, finely chopped
- 1 tablespoon olive oil
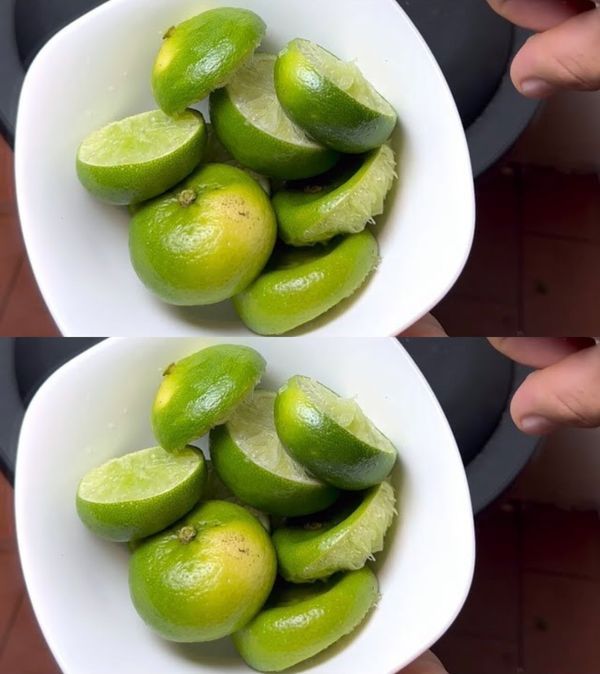
- 1 tablespoon fresh lemon or lime juice
- A handful of fresh cilantro or parsley, chopped
- Salt and pepper to taste
- Optional: A pinch of chili flakes or paprika for a spicy kick
How to Make It
Step 1: Prep the Avocados
- Cut the avocados in half and remove the pits.
- Scoop out the flesh gently with a spoon, keeping the skins intact if you want to use them as natural serving bowls.
- Dice the avocado flesh into small cubes and set aside.
Step 2: Make the Filling
- In a bowl, combine the diced tomato, red onion, olive oil, lemon or lime juice, and fresh herbs.
- Add the diced avocado and gently toss to combine.
- Season with salt, pepper, and optional chili flakes or paprika for extra flavor.
Step 3: Assemble and Serve
- Spoon the avocado mixture back into the empty avocado shells or onto a serving plate.
- Garnish with a sprinkle of fresh herbs or a drizzle of olive oil.
Why You’ll Love This Recipe
- Quick and Easy: Ready in just 10 minutes, no cooking required.
- Nutritious: Full of vitamins, healthy fats, and fiber.
- Customizable: Add your favorite toppings, like crumbled feta, diced cucumber, or even a boiled egg.
Serve and Enjoy
Perfect as a snack, appetizer, or light meal, this avocado recipe is guaranteed to impress. Once you try it, you’ll agree—you’ve never eaten such a delicious avocado!
4o