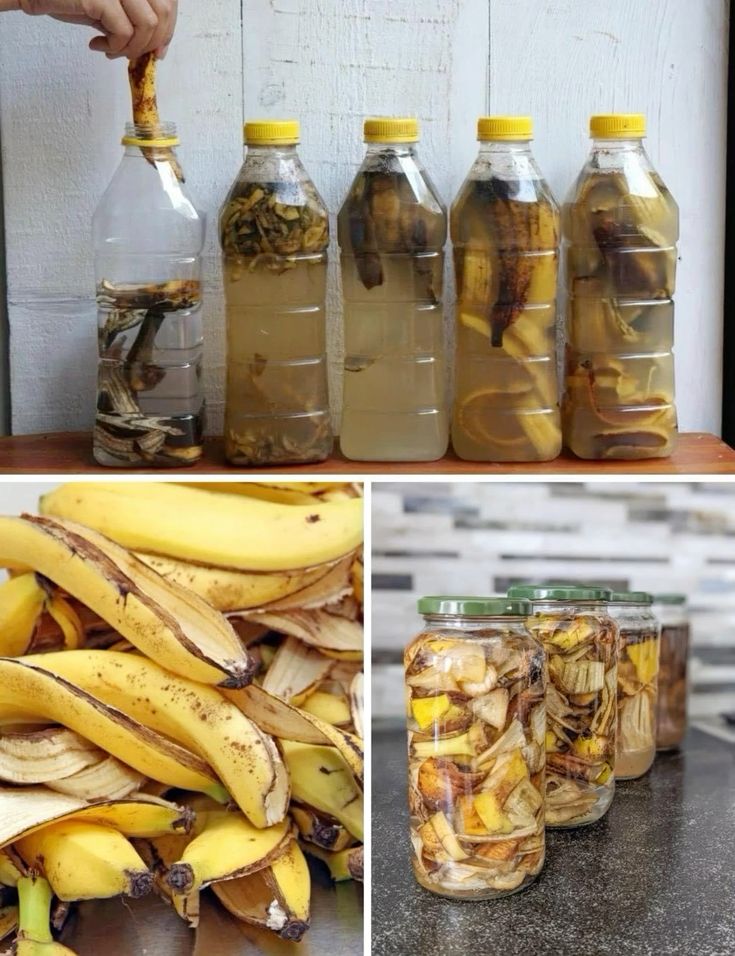
Homemade banana vinegar is a unique and flavorful addition to your pantry, perfect for salad dressings, marinades, and even health tonics. Making vinegar from bananas not only utilizes overripe bananas that might otherwise be discarded but also produces a vinegar with a subtle, sweet undertone. Here’s a step-by-step guide to making banana vinegar at home, complete with creating your own “mother” of vinegar—the natural, jelly-like substance that helps ferment the liquid into vinegar.
Ingredients:
- 6-8 ripe bananas
- 4 cups water
- 1 cup sugar (optional, to speed up fermentation)
- 1 small piece of raw, unfiltered vinegar (contains the mother) or a vinegar mother from previous batches
Equipment:
- Large glass jar
- Cheesecloth or coffee filter
- Rubber band or string
- Strainer
- Funnel
- Bottles for storage
Instructions:
- Prepare the Banana Mixture:
- Peel the bananas and mash them in a large bowl. You want to use very ripe or overripe bananas as they contain more natural sugars, which are essential for fermentation.
- Transfer the mashed bananas to a large glass jar. Add water and sugar if using. The sugar isn’t mandatory but can help speed up the fermentation process by providing additional food for the bacteria.
- Add the Mother:
- If using raw unfiltered vinegar, add it to the jar. This vinegar contains live acetic acid bacteria, which will start the fermentation process. If you have a vinegar mother from another batch, add it to the mixture.
- Cover and Store:
- Cover the jar with a piece of cheesecloth or a coffee filter. Secure it with a rubber band or string. This allows air to flow into the jar to facilitate fermentation while keeping out insects and debris.
- Store the jar in a warm, dark place for about 3 to 4 weeks. A pantry or a cabinet away from direct sunlight is ideal.
- Monitor the Fermentation:
- Check the jar every few days. You should start to see bubbles forming within a week, indicating that fermentation is occurring.
- After about 2 weeks, you might see a gelatinous layer forming on top of the liquid. This is the vinegar mother.
- Strain and Mature:
- After 3 to 4 weeks, strain the mixture through a fine mesh strainer into a clean bowl to remove all solids.
- Transfer the strained liquid back into the glass jar or into a clean bottle using a funnel.
- Cover it again with the cheesecloth and secure it. Let it sit in the same warm, dark place for another 4 to 6 weeks. During this time, the vinegar will clarify and mature.
- Bottle Your Vinegar:
- After the second fermentation period, taste your vinegar. If it has reached the desired acidity, it’s ready to be bottled.
- Transfer the vinegar into bottles using a funnel and store it in a cool, dark place. The vinegar will keep indefinitely and may continue to mellow and improve with age.
Homemade banana vinegar is a delightful project that not only recycles leftover bananas but also provides you with a homemade product that’s both tasty and versatile. Use your banana vinegar in culinary recipes or as a health tonic, and enjoy the satisfaction of making something truly unique from scratch!
