Urban Agriculture: Cultivating Garlic from Scratch Using a Basic Plastic Bottle In the urban landscape, residents are exploring inventive ways to connect with agriculture, leading to a surge in urban farming practices. A straightforward plastic bottle can serve as the inception of your upcoming gardening project. Garlic, renowned for both its medicinal attributes and flavor-enhancing qualities, proves to be an excellent option for such initiatives. Let’s explore the steps to initiate garlic cultivation in a plastic bottle before transferring it to a more natural growing medium.
Crucial Elements for the Procedure Before commencing this gardening endeavor, ensure you have the following essentials:
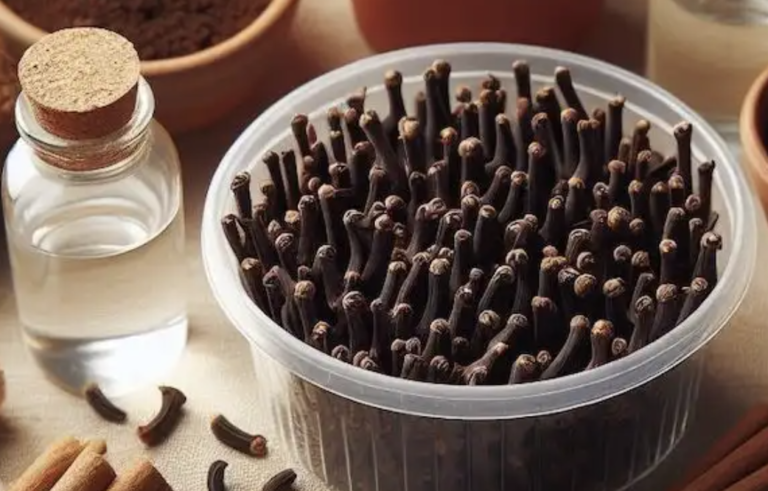
- Garlic Bulbs: Opt for organic garlic bulbs, preferably from local vendors or organic stores to avoid potential chemical constraints on growth.
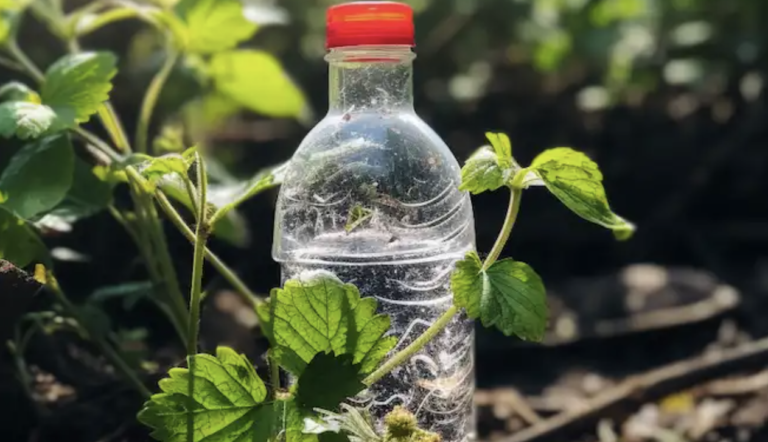
- Transparent Plastic Container: A thoroughly cleaned, clear soda or mineral water bottle is ideal for this purpose.
- Water: Use chlorine-free water; if tap water is your source, allow it to stand for a day to let the chlorine dissipate.
- High-Quality Soil: Once the garlic exhibits signs of growth, prepare nutrient-rich soil for the transplantation phase.
- Planting Container: This could be a pot or a designated area in your urban garden where the garlic can seamlessly continue its growth journey.
Essentials for the Process
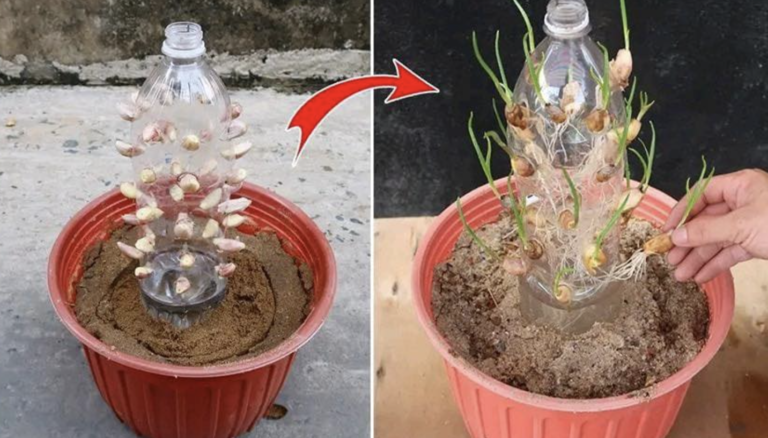
Step 1: Bottle Preparation Trim the upper part of the plastic bottle, leaving approximately two-thirds for the garlic cloves. Ensure the container is clean, free from blemishes or cracks.
Step 2: Garlic Selection and Preparation Choose robust, sizable garlic cloves, removing the outer skin while preserving the core clove.
Step 3: Clove Placement Position the garlic cloves in the bottle with their flat bases pointing downward, allowing space for expansion.
Step 4: Hydration Pour water into the bottle, submerging the bottom part of the cloves while keeping the upper section dry to prevent decay.
Step 5: Placement in Sunlight Position the bottle in a location with ample sunlight, crucial for optimal garlic growth.
Step 6: Daily Maintenance Check water levels daily, ensuring roots remain submerged. Refresh the water every 48 hours to prevent harmful microorganisms.
Step 7: Growth Observation Within about seven days, green sprouts and expanding root strands will indicate successful garlic initiation.
Transplanting Garlic Roots into Soil
Step 8: Soil Preparation After observing garlic sprouts in the bottle, prepare a garden bed or pot with nutrient-rich, well-draining potting soil.
Step 9: Careful Root Relocation With utmost care, remove garlic cloves from the bottle, avoiding harm to fragile roots. Bury them in soil, ensuring sprouted shoots are visible.
Step 10: Post-Relocation Care Immediately saturate the soil after relocating the garlic. Monitor moisture levels to keep the soil damp but not waterlogged. Place the pot or garden spot in a sunny location.
Harvesting Time Patience pays off when the majority of garlic leaves turn rustic brown, typically occurring in 7-8 months, with variations based on garlic type and nurturing conditions.
Utilizing discarded plastic bottles for the initial phase of garlic cultivation not only represents an environmentally conscious choice but also showcases a creative approach to gardening. These practices underscore the significance of recycling while facilitating a seamless transition for garlic from the bottle to the soil. Delve into the world of gardening, where even small initiatives can yield abundant and aromatic results.