")
In the quiet corners of traditional medicine, some plants have held legendary status for centuries. Among these is the remarkable Leaf of Life, known scientifically as Bryophyllum pinnatum and commonly referred. This humble succulent, with its fleshy green leaves and small bell-shaped flowers, hides within its veins a potent arsenal of healing properties that modern science is just beginning to understand. Leaf of life plant benefits include supporting immunity, reducing inflammation, and promoting natural healing.
But what makes this plant so special? Why is it revered by herbalists across Africa, Asia, the Caribbean, and South America? And why should you care about it today?
Let’s explore the powerful benefits of the Leaf of Life and why it’s becoming a must-have natural remedy in households worldwide.
A Living Pharmacy in One Leaf
The name “Leaf of Life” is not just poetic. This plant is known for its astonishing ability to regenerate. Drop a single leaf on moist soil, and it will sprout new plants all on its own. But beyond its regenerative magic in the garden, the leaf also works wonders in the human body.
Packed with bioactive compounds, Bryophyllum pinnatum contains flavonoids, glycosides, triterpenoids, bufadienolides, and steroids. These compounds give the plant its powerful anti-inflammatory, antimicrobial, antioxidant, analgesic, and wound-healing effects.
Traditional Uses Across the Globe
Across continents and cultures, the Leaf of Life has been used to treat a wide range of ailments:
-
In Africa, it’s applied to wounds, burns, and skin infections.
-
In India, it’s used in Ayurvedic medicine for kidney stones and ulcers.
-
In the Caribbean, it’s brewed into teas for colds, coughs, and asthma.
-
In Vietnam, it’s applied directly to treat insect bites, boils, and burns.
What’s fascinating is how consistent these uses are, even across cultures that never interacted. That’s a strong signal of just how effective this plant may be.
1. Natural Remedy for Respiratory Conditions
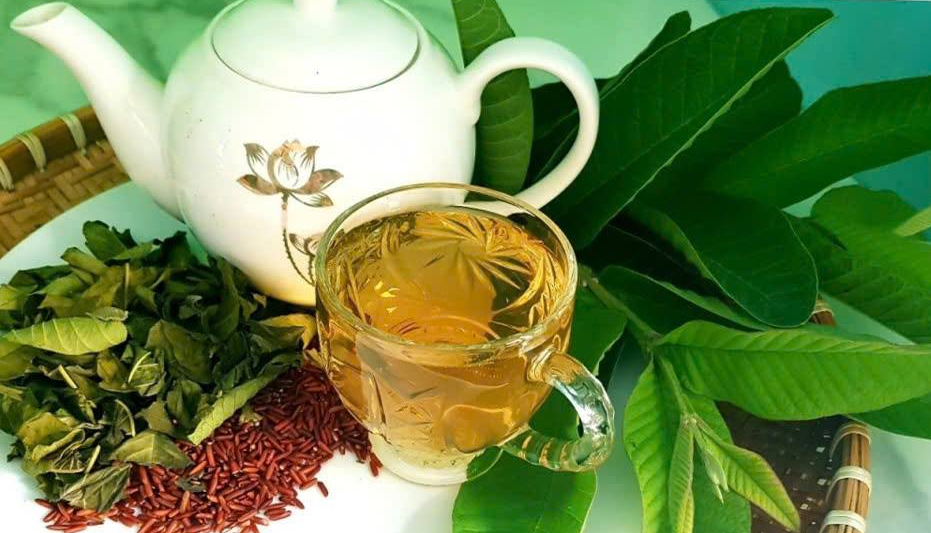
One of the most popular uses of the Leaf of Life is for respiratory health. In traditional Caribbean medicine, the leaves are boiled to make a tea that’s consumed to relieve coughs, asthma, bronchitis, and colds.
This is not just folk tradition. Modern studies have found that Bryophyllum pinnatum has anti-inflammatory and bronchodilator effects, helping to relax the muscles in the respiratory tract and reduce inflammation that causes wheezing and coughing.
It’s particularly helpful during flu season when viral infections lead to congestion and chronic cough. A warm cup of Leaf of Life tea may offer fast, natural relief.
2. Powerful Wound Healer
If you’ve ever suffered from a minor cut, burn, or skin infection, the Leaf of Life can be your best friend. In Vietnamese traditional medicine, the leaves are crushed and applied directly to the skin to promote rapid healing.
Scientific research confirms these wound-healing properties. The leaf is rich in flavonoids and antioxidants that fight off bacteria and stimulate cell regeneration. That means your wounds heal faster, with less risk of infection or scarring.
Its anti-inflammatory properties also reduce swelling and redness, making it ideal for acne-prone or sensitive skin.
3. Pain Relief and Anti-Inflammatory Effects
Nature has always provided pain relief long before pharmaceutical pills were invented. The Leaf of Life is one of those natural remedies known for its analgesic properties.
Whether you suffer from muscle pain, arthritis, or menstrual cramps, applying the crushed leaves to the area or drinking the tea can reduce discomfort naturally.
Researchers have identified compounds in the plant that work similarly to NSAIDs (non-steroidal anti-inflammatory drugs), helping to block pain signals and reduce inflammation, without the side effects of synthetic medication.
4. Supports Kidney Health and Prevents Stones
In Ayurvedic medicine, the Leaf of Life is a well-known remedy for kidney stones. It acts as a natural diuretic, encouraging the body to flush out excess minerals and toxins that can form stones in the kidneys or bladder.
Some studies even suggest that the plant may help dissolve existing stones or prevent them from growing larger. For those with a history of kidney problems, adding Leaf of Life tea to your weekly routine may offer significant support for urinary health.
5. Boosts Immunity
A strong immune system is your body’s best defense against disease. The antioxidants and phytochemicals in Bryophyllum pinnatum give it potent immune-boosting effects.
Regular consumption of the tea or juice from the leaves can help combat oxidative stress, reduce inflammation, and keep the immune system alert and active.
In times when flu, viruses, and chronic fatigue are common, having a plant like this in your herbal arsenal can be a game-changer.
6. A Natural Solution for High Blood Pressure
One of the lesser-known but emerging uses of the Leaf of Life is its ability to help lower blood pressure. By acting as a diuretic and reducing inflammation in the arteries, the plant may support healthier circulation and help maintain stable blood pressure levels.
This makes it a valuable natural option for people looking to manage hypertension without harsh medications.
How to Use the Leaf of Life
There are many ways to enjoy the benefits of this plant, depending on your needs:
1. Tea:
Boil 2–3 fresh leaves in water for 5–10 minutes. Let it steep and drink once or twice daily for coughs, colds, or general health.
2. Poultice:
Crush fresh leaves and apply directly to wounds, burns, insect bites, or inflamed areas.
3. Juice:
Blend fresh leaves with water, strain, and drink a small amount (1–2 tablespoons) daily to support kidney and immune health.
4. Steam Inhalation:
Boil leaves and inhale the steam for sinus congestion, asthma, or chest infections.
Cautions and Considerations
While the Leaf of Life is generally safe when used appropriately, it’s important to remember that natural doesn’t always mean harmless. Always:
-
Use clean, pesticide-free leaves
-
Avoid excessive use during pregnancy
-
Consult a healthcare provider if you’re on medication or have chronic health conditions
Why You Should Keep the Leaf of Life in Your Garden
Besides its medicinal magic, this plant is a low-maintenance, drought-resistant beauty. It thrives in pots or soil, multiplies easily, and requires very little care.
But perhaps the most beautiful thing about it is this: whenever you or your family needs it, you can simply walk out into the garden, pick a leaf, and begin to heal. No prescription, no pharmacy — just nature doing what it does best.
Final Thoughts
In a world full of synthetic pills and chemical-laden treatments, the Leaf of Life stands as a symbol of natural healing and resilience. Whether you’re looking for relief from everyday ailments or building a more holistic lifestyle, this ancient plant offers powerful, time-tested support.
So if you haven’t already, consider adding Bryophyllum pinnatum to your natural medicine cabinet. Your body, mind, and spirit will thank you.