Have you ever considered adding purslane to your meals? This little-known green might just be one of the best kept secrets in the culinary world. Recently, I had the pleasure of learning how to cook this nutritious “weed” from my neighbors, who hail from Turkey. They introduced me to the many delicious ways purslane can be used in cooking.
Purslane, often found growing wild in gardens and on roadsides, is not only edible but incredibly healthy. It’s packed with Omega-3 fatty acids, antioxidants, and is one of the few leafy greens that contain a significant amount of vitamin E. With its slightly sour and salty taste, purslane can add a unique flavor to a variety of dishes.
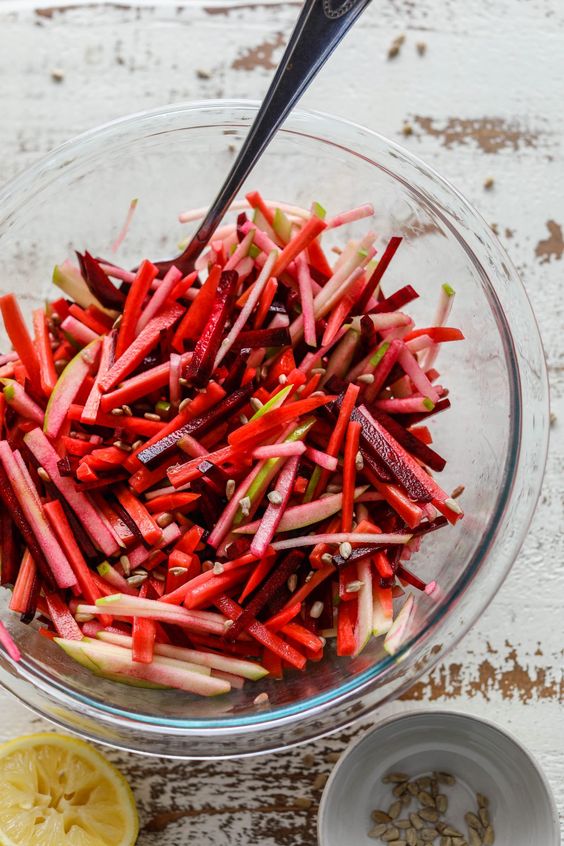
One of the simplest ways to enjoy purslane is in a fresh salad. Just rinse the leaves and stems, chop them up, and toss them with your favorite salad ingredients. Tomatoes, cucumbers, and a drizzle of olive oil complement the natural flavors of purslane beautifully. This creates a refreshing dish that is perfect for a light lunch or a side at dinner.
For something a bit heartier, you can cook purslane in a stew. My neighbors shared a traditional Turkish recipe where purslane is cooked slowly with tomatoes, onions, and a bit of garlic. The result is a comforting dish that pairs wonderfully with a slice of crusty bread. It’s a fantastic way to warm up and get a good dose of nutrition.
Don’t be afraid to get creative in the kitchen with purslane. It can be added to soups, scrambled with eggs for breakfast, or even used as a topping for pizzas and flatbreads. Its versatility makes it easy to incorporate into your daily meals.
If you’re looking for a new ingredient to spice up your cooking routine, purslane might just be the answer. Not only will it bring a burst of flavor and nutrition to your dishes, but it’s also a conversation starter – how many people can say they cook with a gourmet weed?
Next time you see purslane at the farmer’s market or growing in your garden, give it a try. You might discover a new favorite ingredient that is as nutritious as it is delicious!