Are you tired of store-bought cheese that lacks that homemade flavor and goodness? Well, there’s good news – you can create your own delicious cheese with just two simple ingredients: milk and kefir! It’s a fuss-free process that yields cheese that’s not only tastier but also healthier than anything you’ll find at the store.
Milk and kefir, when combined, undergo a magical transformation into a creamy, tangy cheese that’s perfect for spreading on crackers, topping salads, or enjoying all on its own. Plus, making your own cheese at home allows you to control the quality of ingredients and customize the flavor to suit your taste preferences.
Here’s how easy it is to whip up a batch of homemade cheese:
Ingredients:
- Fresh milk (whole milk works best for a creamier texture)
- Kefir (preferably homemade for the best results)
Instructions:
- Start by pouring the milk into a clean pot and heating it gently over medium-low heat. You want to warm the milk just until it reaches a temperature of around 180°F (82°C), but be careful not to let it boil.
- Once the milk has reached the desired temperature, remove it from the heat and stir in the kefir. The amount of kefir you use will depend on how tangy you want your cheese to be – start with a small amount and adjust to taste.
- Cover the pot with a clean cloth and let it sit at room temperature for 12-24 hours. During this time, the milk will thicken and curdle, transforming into a soft cheese-like consistency.
- After the designated fermentation period, line a colander with cheesecloth and place it over a bowl to catch the whey. Carefully pour the curdled milk mixture into the cheesecloth-lined colander, allowing the whey to drain away.
- Once the whey has drained off, gather the edges of the cheesecloth and gently squeeze out any excess liquid. You can then transfer the cheese to a container and refrigerate it until ready to use.
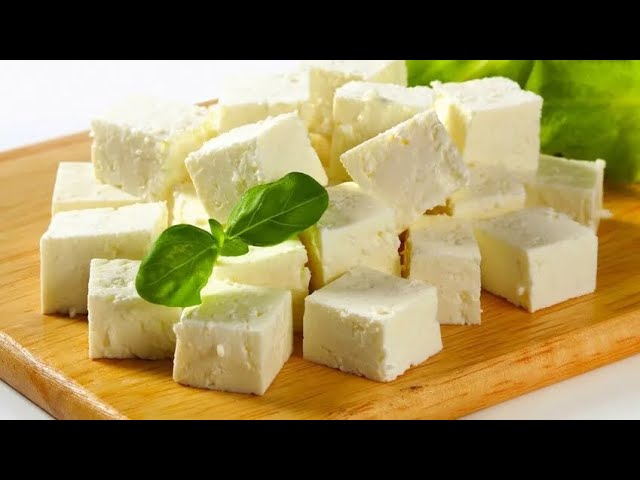
And there you have it – homemade cheese made with just two ingredients! Enjoy the creamy, tangy goodness of your homemade creation and savor the satisfaction of knowing you made it yourself. Say goodbye to store-bought cheese and hello to the simple pleasure of homemade goodness!