Maintaining healthy blood vessels is crucial for overall well-being, and sometimes, the simplest ingredients can have a powerful impact. Garlic and lemon are two such ingredients that, when combined, offer a potent natural remedy for supporting cardiovascular health and cleansing the blood vessels. This easy-to-make concoction not only harnesses the natural benefits of these ingredients but is also a cost-effective way to contribute to a healthy heart and circulatory system.
Health Benefits of Garlic and Lemon
- Garlic: Renowned for its cardiovascular benefits, garlic has been shown to improve heart health by reducing plaque buildup in the arteries, lowering blood pressure, and increasing antioxidant status. Its active compound, allicin, is believed to be largely responsible for these effects.
- Lemon: Rich in vitamin C and other antioxidants, lemons can help reduce inflammation, strengthen blood vessels, and prevent the accumulation of plaque, making them a great partner to garlic in this health-boosting remedy.
How to Prepare the Remedy
Ingredients:
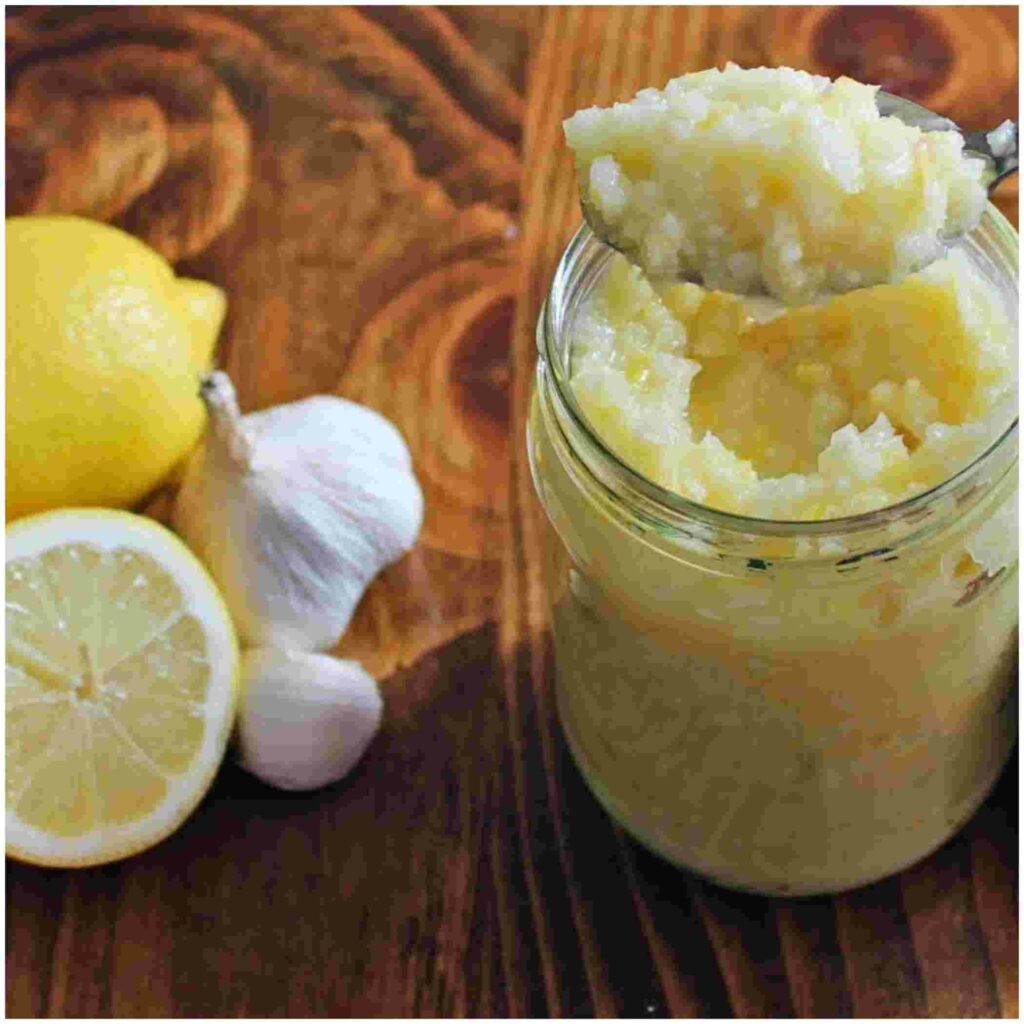
- 1 garlic bulb
- 2 fresh lemons
- 1 liter of water
Instructions:
- Prepare Ingredients:
- Peel the cloves of one whole garlic bulb.
- Wash the lemons thoroughly and cut them into slices, keeping the peel on to retain the essential nutrients found in the skin.
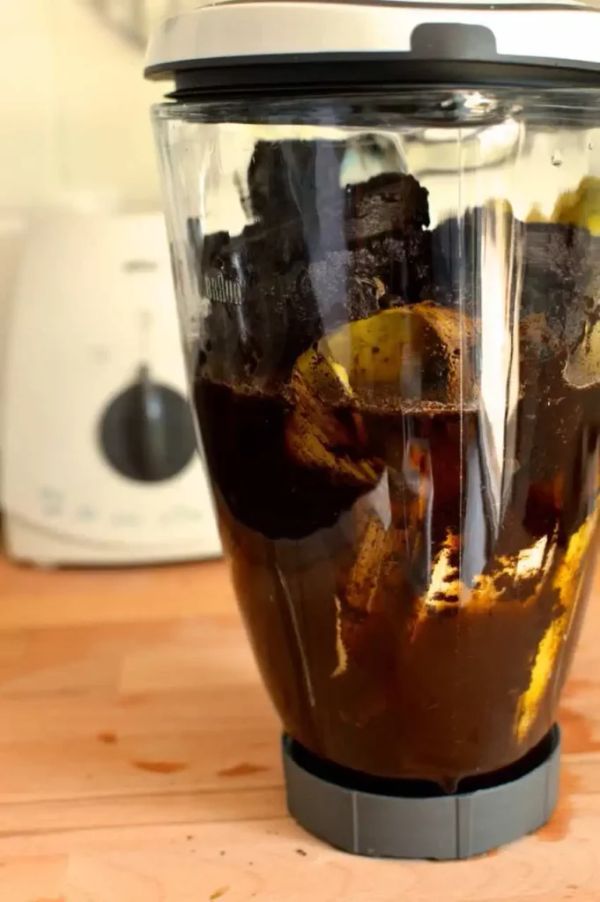
- Blend the Ingredients:
- Place the garlic cloves and lemon slices into a blender.
- Add a small amount of water and blend until the mixture becomes smooth.
- Boil the Mixture:
- Transfer the blended mixture into a pot and add the rest of the water.
- Bring the mixture to a boil, then reduce the heat and let it simmer for about 5 minutes.
- Strain and Store:
- After boiling, strain the mixture to remove the solid bits, leaving a clear liquid.
- Store the liquid in a glass jar or bottle in the refrigerator.
How to Use
- Dosage: Drink about 50-100 ml of this garlic-lemon mixture daily, preferably on an empty stomach in the morning. It’s recommended to start with a small dose to see how your body reacts before gradually increasing to the full amount.
- Duration: Continue this routine for 3-4 weeks, then take a break for at least one week.
Conclusion
This garlic and lemon remedy is a natural and effective way to cleanse your blood vessels and improve cardiovascular health. It’s a testament to how simple ingredients can make a significant impact on our health. Regular use of this remedy, combined with a balanced diet and regular exercise, can help you maintain a healthy heart and vibrant circulatory system.