Looking to add some variety to your beverage routine with options that are not only delicious but also good for you? From the creamy delight of kefir to the nutritious goodness of a vegetable drink and the refreshing zest of lemon, these top three drinks offer something special for everyone. Let’s dive into how you can whip up these tasty and easy beverages at home.
1. Homemade Kefir
Kefir is a fermented milk drink similar to yogurt but with a thinner consistency. Known for its probiotic properties, kefir is excellent for digestion and overall gut health.
Ingredients:
- 1 tablespoon kefir grains
- 1 cup milk (preferably whole or 2%)
Instructions:
- Mix the Kefir Grains and Milk: Place the kefir grains in a clean jar and pour the milk over them. Stir gently.
- Cover and Ferment: Cover the jar with a breathable material like cheesecloth secured with a rubber band. Leave it at room temperature for about 24 hours.
- Strain: After fermentation, strain the mixture using a plastic strainer to remove the kefir grains. The liquid left is your kefir drink.
- Enjoy or Store: Drink immediately or store in the refrigerator. You can reuse the kefir grains to start another batch.
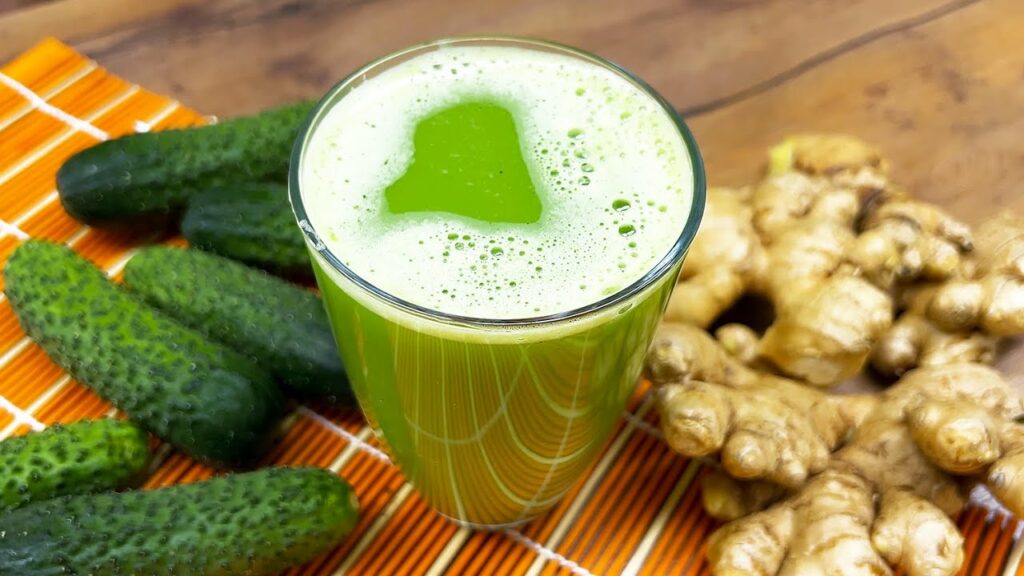
2. Refreshing Vegetable Drink
A vegetable drink is a fantastic way to get your daily dose of vitamins and minerals. This simple recipe uses a blend of refreshing veggies.
Ingredients:
- 2 carrots
- 1 small cucumber
- 1 beet
- 2 celery stalks
- 1 small piece of ginger (optional for a spicy kick)
Instructions:
- Prepare the Ingredients: Wash all vegetables thoroughly. Peel the carrots and beet, and cut all vegetables into chunks.
- Juice: Pass all the ingredients through a juicer.
- Serve: Enjoy the juice fresh, or chill it in the refrigerator for a refreshing cold drink.
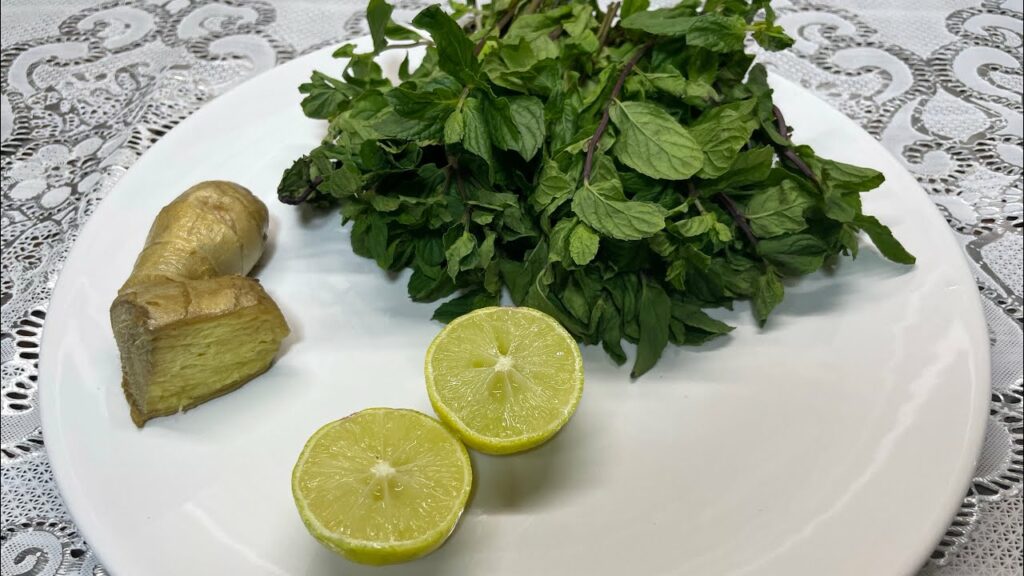
3. Classic Lemon Drink
A classic lemon drink is not only refreshing but also packed with vitamin C, perfect for boosting the immune system.
Ingredients:
- The juice of 2 large lemons
- 2 tablespoons of honey (adjust to taste)
- 4 cups of water
- Ice cubes
Instructions:
- Mix Ingredients: In a large pitcher, combine lemon juice, honey, and water. Stir until the honey dissolves completely.
- Chill: Add ice cubes and refrigerate to chill.
- Serve: Pour into glasses and enjoy a refreshing lemon drink.
Conclusion
Whether you’re starting your day with a probiotic punch of kefir, seeking a nutrient boost from a vegetable drink, or cooling off with a classic lemon drink, these top three beverages are sure to delight your taste buds and contribute to your health. Each is easy to make and can be enjoyed daily to add both variety and vitality to your diet.