: 30 Surprising Health Benefits You Need to Know")
Often dismissed as a mere weed, Goosegrass (Eleusine indica) hides an incredible array of healing properties that have been cherished in traditional medicine for centuries. This unassuming plant, packed with vital nutrients and bioactive compounds, is far more than an invasive green. Although it hasn’t achieved mainstream popularity, its potential as a natural remedy is profound. Discover how Goosegrass can support everything from digestion to respiratory health, and learn how you can harness its benefits with simple homemade solutions.
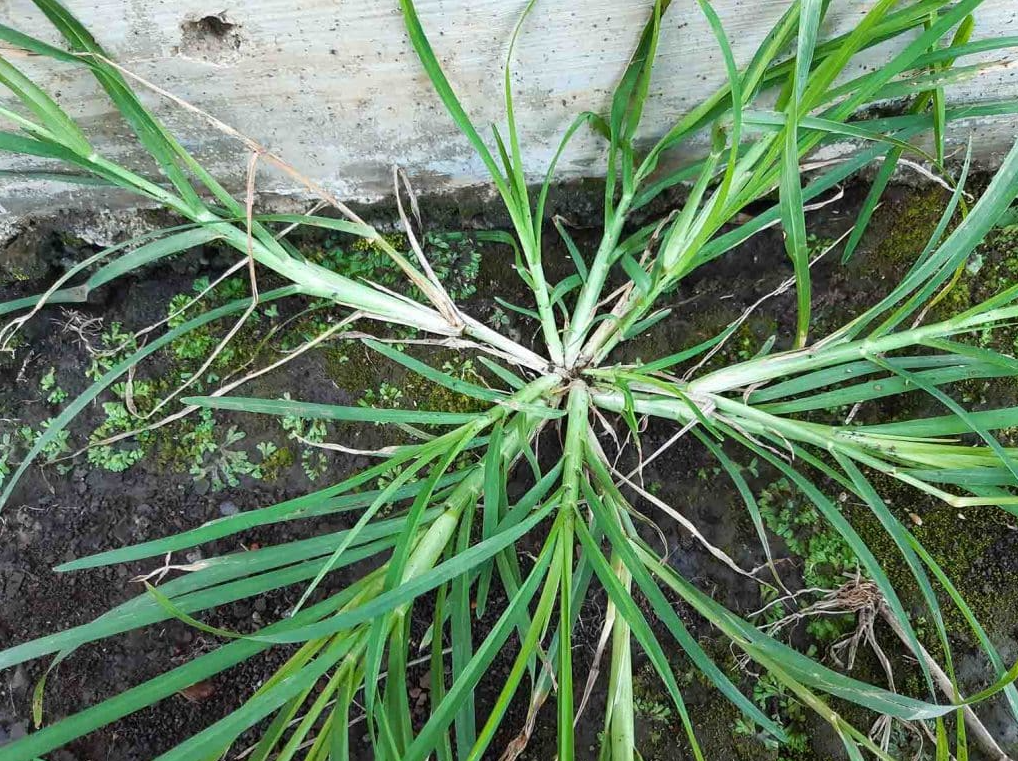
The 30 Remarkable Benefits of Goosegrass (Eleusine indica)
RELATED: Exploring the Health Benefits of Guava Fruit and Guava
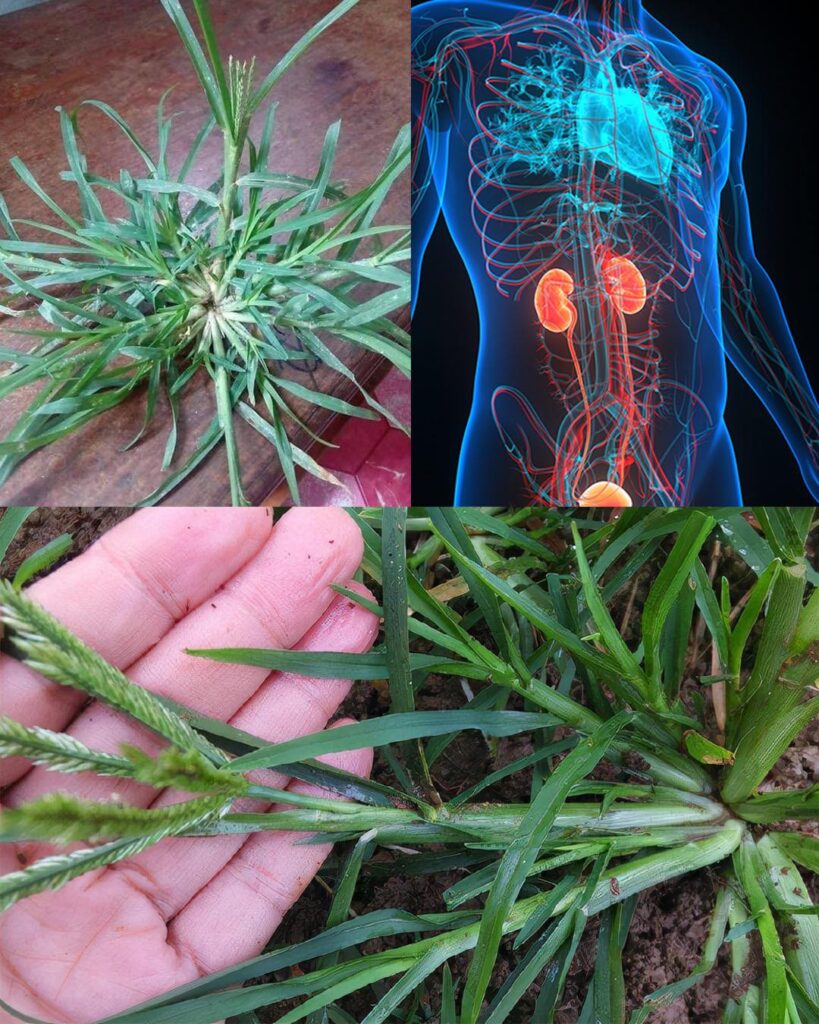
- Natural Detoxifier – As a diuretic, Goosegrass helps cleanse the body by flushing out toxins and supporting kidney health.
- Reduces Inflammation – Goosegrass’s anti-inflammatory compounds can be beneficial for managing arthritis and soothing swollen joints.
- Powerful Antioxidant – The plant’s antioxidants combat free radicals, enhancing cellular health and slowing aging.
- Soothes Digestion – By reducing bloating and indigestion, Goosegrass aids in comfortable digestion.
- Fights Infections – Goosegrass’s antimicrobial properties make it a natural immune booster, helping to fend off infections.
- Lowers Fever – Traditionally used to bring down fevers, it offers relief for those battling heat-related illnesses.
- Blood Pressure Control – Some studies suggest Goosegrass can help regulate blood pressure, promoting cardiovascular wellness.
- Supports Respiratory Health – Known to relieve asthma, bronchitis, and congestion, it eases breathing and clears airways.
- Speeds Wound Healing – Applied to cuts and scrapes, Goosegrass acts as an antiseptic, accelerating recovery.
- Urinary Tract Health – Goosegrass’s diuretic effect can help alleviate urinary tract infections and even aid in dissolving kidney stones.
- Helps Manage Diabetes – Preliminary research indicates that Goosegrass may assist in regulating blood sugar levels, benefiting those with diabetes.
- Assists with Weight Loss – Its diuretic action reduces water retention, supporting weight management efforts.
- Anti-Parasitic – Used in traditional deworming remedies, Goosegrass can help expel intestinal parasites.
- Skin Care – With anti-inflammatory and antioxidant benefits, it’s a natural addition to routines for clear, irritation-free skin.
- Pain Relief – When applied or consumed, Goosegrass can provide mild relief from aches and discomfort.
- Promotes Hair Growth – Rinsing the scalp with Goosegrass-infused water may reduce hair loss and encourage growth.
- Supports Liver Health – By stimulating bile production, Goosegrass aids in detoxifying the liver.
- Boosts Immunity – The plant’s antimicrobial and antioxidant powers strengthen immune defenses.
- Bone Strength – Regular intake may support bone health due to essential minerals in Goosegrass.
- Eases Constipation – Acting as a gentle laxative, it helps relieve constipation naturally.
- Improves Circulation – By enhancing blood flow, Goosegrass may lower the risk of clots and improve cardiovascular health.
- Regulates Cholesterol – Known to help reduce LDL cholesterol, it promotes a healthier heart.
- Anti-Cancer Potential – Emerging studies highlight Goosegrass’s potential in cancer prevention due to its antioxidant properties.
- Relieves Anxiety – Goosegrass tea has calming effects, reducing anxiety and promoting relaxation.
- Alleviates Headaches – In traditional medicine, Goosegrass has been used to relieve tension headaches.
- Enhances Sleep Quality – With its calming properties, Goosegrass tea may lead to more restful sleep.
- Treats Snake Bites – Traditional healers use it to treat snake bites and slow venom spread.
- Reduces Swelling – Applied topically, Goosegrass can reduce swelling from injuries or strains.
- Joint Health – Its anti-inflammatory action supports joint mobility and reduces pain.
- Eye Health Support – Goosegrass contains antioxidants that may protect eyes from age-related degeneration.
How to Use Goosegrass at Home
Integrating Goosegrass into daily wellness routines is simple. Here are some effective ways to use this versatile plant:
- Goosegrass Tea: Boil a handful of leaves in water for 10 minutes, strain, and enjoy. Drink up to twice daily to support digestion and detox.
- Topical Paste: Crush fresh leaves into a paste for application on cuts or scrapes, speeding up healing and reducing inflammation.
- Hair Rinse: Soak Goosegrass in water overnight. Use the infused water as a scalp rinse to stimulate hair growth and control dandruff.
- Skin Compress: Prepare a Goosegrass decoction and apply with a clean cloth to soothe irritated or inflamed skin.
Important Considerations
While Goosegrass offers numerous benefits, excessive or improper use may cause adverse effects. Consult a healthcare provider before incorporating Goosegrass into your wellness routine, particularly if you have existing health concerns. Pregnant or breastfeeding women should avoid use without professional guidance. Always ensure Goosegrass is sourced from safe, uncontaminated areas.
Goosegrass may be an unexpected powerhouse in natural healing, bridging ancient remedies with modern wellness. From teas to topical treatments, its applications are vast and accessible. Share this article with friends to spread the word about Goosegrass’s hidden potential!
Source: nature.pngland.com


