
Often overlooked as a common weed, common mallow (Malva sylvestris) is a nutrient-rich medicinal plant with a long history of traditional use. Known for its soothing, anti-inflammatory, and antioxidant properties, this versatile herb has been valued for digestive support, respiratory relief, skin health, and more.
Let’s explore the remarkable health benefits of common mallow, its nutrient profile, and how to incorporate it into your wellness routine.

Nutrient Profile: A Natural Superfood
Common mallow is a rich source of vitamins, minerals, and antioxidants that support overall health and wellbeing.
✔ Vitamin A – Supports vision, skin health, and immune function.
✔ Vitamin C – Boosts immune function and collagen production.
✔ Vitamin K – Essential for blood clotting and bone strength.
✔ Calcium, Magnesium, and Potassium – Vital for bone health, nerve function, and muscle relaxation.
Why It Matters:
Adding common mallow to your diet can provide a natural nutrient boost, supporting immune health, digestion, and skin vitality.
1. Supports Digestive Health
Common mallow is well-known for its soothing effects on the digestive tract, thanks to its high mucilage content.
✔ Coats and protects the stomach lining, reducing acidic irritation.
✔ Alleviates indigestion, bloating, and mild stomach irritation.
✔ Acts as a natural laxative, promoting smooth digestion and regular bowel movements.
How to Use:
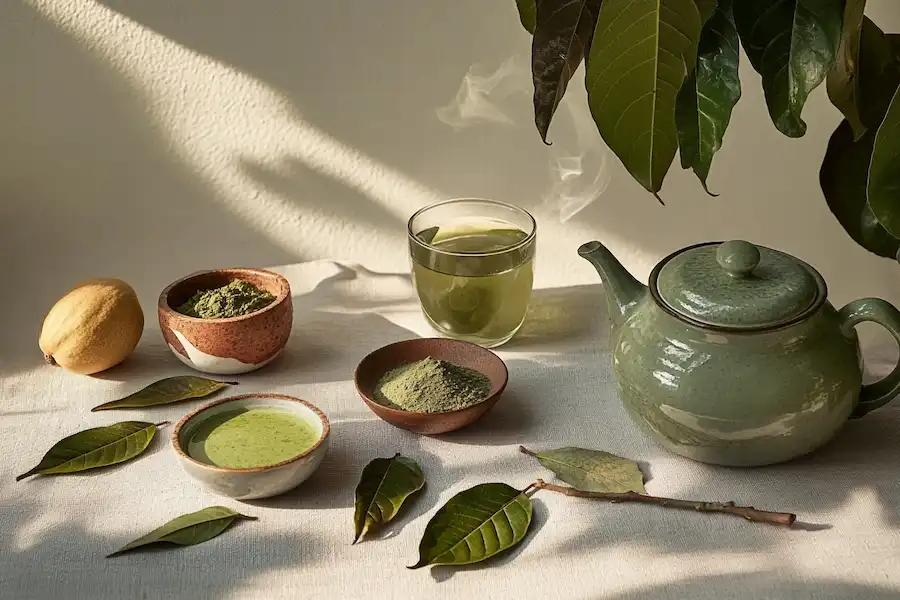
- Drink common mallow tea to soothe the stomach and aid digestion.
- Eat fresh mallow leaves in salads or cooked as a green vegetable.
2. Anti-Inflammatory & Antioxidant Effects
The bioactive compounds in common mallow, including flavonoids and phenolic acids, offer anti-inflammatory and antioxidant benefits.
✔ Reduces inflammation, making it beneficial for arthritis and joint pain.
✔ Combats oxidative stress, protecting against chronic diseases.
✔ Supports immune function by reducing harmful free radical damage.
How to Use:
- Drink a cup of common mallow tea daily for anti-inflammatory support.
- Apply a poultice made from crushed leaves to soothe swollen or inflamed areas.
3. Natural Respiratory Relief
Common mallow has been traditionally used to support respiratory health, thanks to its natural expectorant properties.
✔ Loosens mucus in the airways, making it easier to expel.
✔ Reduces throat irritation, soothing coughs and congestion.
✔ Helps relieve symptoms of colds, bronchitis, and mild respiratory infections.
How to Use:
- Make a warm mallow tea and drink it to ease coughs and sore throats.
- Inhale steam infused with mallow leaves to clear nasal passages.
4. Promotes Healthy, Hydrated Skin
The mucilage content in common mallow makes it an excellent natural moisturizer for dry and irritated skin.
✔ Soothes rashes, insect bites, and skin irritations.
✔ Hydrates and softens the skin, reducing dryness and flakiness.
✔ Helps calm inflammatory skin conditions like eczema and dermatitis.
How to Use:
- Apply crushed fresh leaves directly to affected areas for cooling relief.
- Use mallow-infused oil or tea as a natural skin toner or rinse.
5. Culinary Uses: A Nutritious Edible Plant
Beyond its medicinal properties, common mallow is completely edible and can be added to various dishes.
✔ Young leaves – Can be eaten raw in salads or cooked like spinach.
✔ Flowers – Used as a garnish in dishes and herbal teas.
✔ Seeds (“Mallow Cheese”) – Have a nutty flavor and can be eaten raw or toasted.
How to Use:
- Add fresh leaves to soups and stews for a nutrient boost.
- Make a healthy smoothie by blending mallow leaves with fruits and yogurt.
- Brew common mallow tea by steeping dried leaves and flowers in hot water.
Precautions & Safety Considerations
While common mallow is generally safe to consume, certain precautions should be taken:
✔ Harvest from clean, uncontaminated areas to avoid pesticides and pollutants.
✔ Pregnant or breastfeeding women should consult a doctor before use.
✔ People on medication should seek medical advice, as mallow may interact with some drugs.
If you experience allergic reactions or digestive discomfort, reduce consumption and consult a healthcare professional.
Final Thoughts: Why You Should Add Common Mallow to Your Wellness Routine
Common mallow may seem like an ordinary plant, but its powerful health benefits make it a valuable addition to a natural wellness regimen. Whether you’re looking to support digestion, improve respiratory health, reduce inflammation, or enhance skin hydration, this nutrient-rich herb can be a simple yet effective solution.
Top Benefits of Common Mallow:
✔ Supports gut health & soothes digestion
✔ Reduces inflammation & provides antioxidant protection
✔ Clears mucus & relieves respiratory discomfort
✔ Moisturizes and heals dry, irritated skin
✔ Rich in essential vitamins, minerals, and bioactive compounds
Next time you spot common mallow growing in your garden, consider harvesting it for its nutritional and medicinal properties!
Would you try using common mallow for its health benefits? Share your thoughts in the comments! ✨


: A Natural Ally for Kidney Health")

