Once dismissed as a common garden weed, purslane, also known as Verdolaga, has undergone a remarkable transformation into a celebrated superfood. Its resilience and versatility have earned it a spot on farmer’s market stands and in the kitchens of top chefs, transforming this humble plant into a nutritional powerhouse that can improve both your health and your garden. Whether you’re a seasoned gardener or a culinary enthusiast, there are plenty of reasons why you should welcome purslane into your life.

The Rise of Purslane: From Weed to Superfood
Purslane, sometimes referred to as hogweed or pigweed, is a plant that once struggled with a negative reputation. However, its remarkable health benefits and culinary potential have led to a resurgence in popularity. Once considered an undesirable nuisance in many gardens, this hardy plant has now found a place of honor in the kitchens of forward-thinking chefs, health-conscious consumers, and even nutritional experts. Famous historical figures such as Mahatma Gandhi praised purslane for its versatility, and today it’s reclaiming its rightful place in our diets.
This remarkable plant is capable of thriving in even the harshest conditions, whether it’s sprouting through cracks in the sidewalk or flourishing in your garden. Dr. Artemis Simopoulos, the president of the Centre for Genetics, Nutrition, and Health, has called purslane a “miracle plant,” particularly after discovering its incredibly high levels of Omega-3 fatty acids—higher than any other green plant.
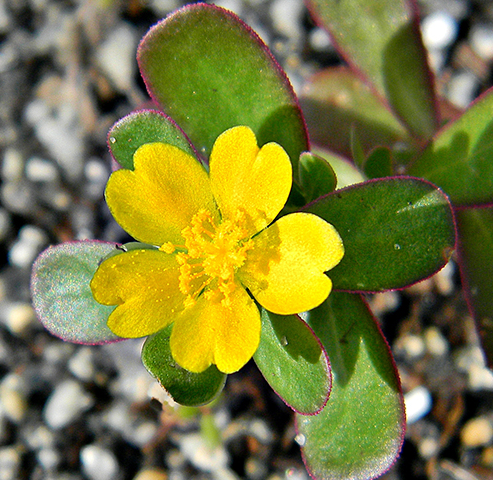
Purslane’s teardrop-shaped, succulent leaves are packed with essential nutrients, antioxidants, and vitamins. Its slightly tart, peppery flavor makes it a favorite among chefs, and it adds a zesty, refreshing twist to a variety of dishes. Chef Sergio Vitale, the owner of Aldo’s Ristorante Italiano, recalls growing up with purslane in southern Italy, where it was cherished not only for its flavor but also its culinary adaptability.
Despite being a staple in early American kitchens—famously enjoyed by Martha Washington—purslane lost its popularity in the early 20th century. Today, however, a growing number of farmers, foragers, and chefs are bringing this nutrient-dense plant back into the spotlight.
8 Irresistible Reasons to Embrace Purslane

- An Exceptional Source of Omega-3 Fatty Acids Omega-3s are essential for heart and brain health, and purslane is one of the best plant-based sources of these vital fatty acids. It’s especially beneficial for those following vegan or plant-based diets, as it offers a rare, non-animal source of Omega-3s. These fatty acids help reduce inflammation, support cognitive function, and promote overall cardiovascular health.
- Packed with Antioxidants Purslane is loaded with antioxidants, including glutathione, a potent compound known for protecting cells from oxidative damage. By neutralizing free radicals, antioxidants help reduce the aging process, protect the body from diseases, and boost overall health. Regularly consuming purslane can help improve your skin, support cell health, and delay the signs of aging.
- Rich in Essential Minerals This humble plant is a veritable mineral powerhouse. It’s packed with calcium, magnesium, potassium, and iron, making it an excellent dietary addition for anyone looking to boost their intake of vital minerals. These minerals play important roles in bone health, muscle function, heart health, and red blood cell production, among other things.
- A Natural Immune System Boost with Vitamin C Purslane is rich in Vitamin C, a crucial nutrient that supports the immune system and helps protect the body against illnesses. As a potent antioxidant, Vitamin C also promotes healthy skin, aids in collagen production, and supports the healing of wounds, making purslane a great addition to your diet, especially during cold and flu season.
- Beta-Carotene for Healthy Vision and Skin Beta-carotene, which is converted into Vitamin A in the body, is found in abundance in purslane. This powerful antioxidant supports eye health by maintaining good vision and reducing the risk of age-related macular degeneration. Beta-carotene also contributes to healthy skin by protecting it from the harmful effects of UV radiation and supporting the production of collagen.
- Melatonin for Better Sleep Purslane is one of the few plants that contains melatonin, a hormone that helps regulate sleep patterns. If you struggle with sleepless nights or poor sleep quality, purslane may offer a natural solution to improving your rest. The melatonin in purslane can promote better sleep by enhancing your body’s natural sleep-wake cycle, helping you wake up feeling refreshed and rejuvenated.
- Cholesterol Management Purslane’s rich content of betalains, a group of plant compounds, has been shown to help reduce LDL cholesterol (the “bad” cholesterol) and improve cardiovascular health. These compounds protect blood vessels and help maintain healthy blood pressure levels, ultimately supporting a healthier heart.
- Mood Regulation with Tryptophan Purslane contains tryptophan, an amino acid that plays a crucial role in serotonin production. Serotonin is often referred to as the “feel-good” hormone, and it helps regulate mood, alleviate stress, and combat depression. Consuming purslane regularly can help maintain a balanced mood and contribute to emotional well-being.
A Simple Purslane Recipe to Try: Purslane and Basil Pesto

Now that you know about the impressive health benefits of purslane, why not try incorporating it into your meals? Here’s a simple and delicious recipe for Purslane and Basil Pesto that can be used as a spread, dip, or pasta sauce.
Ingredients:
- 2 cups young purslane leaves and stems, rinsed and chopped
- 45g basil leaves, rinsed
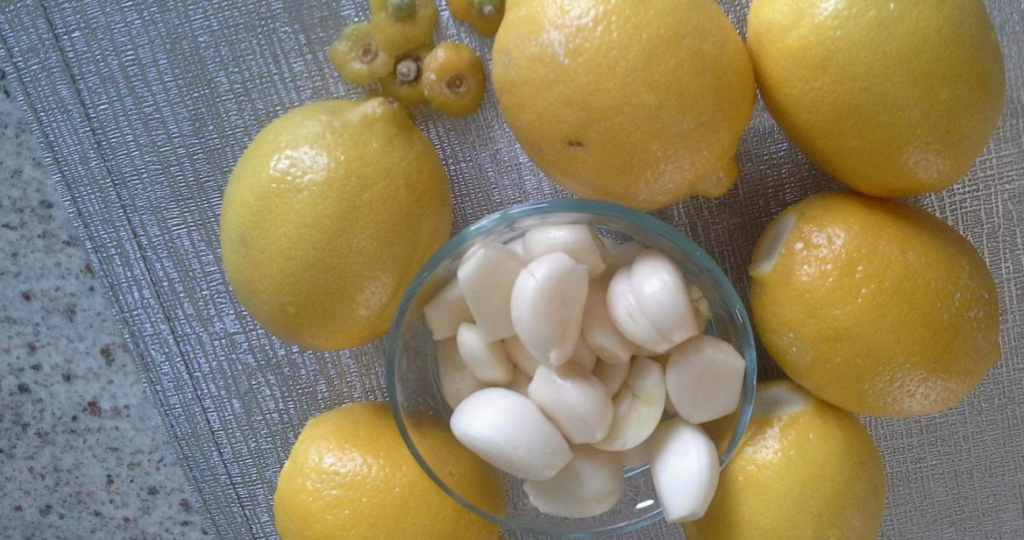
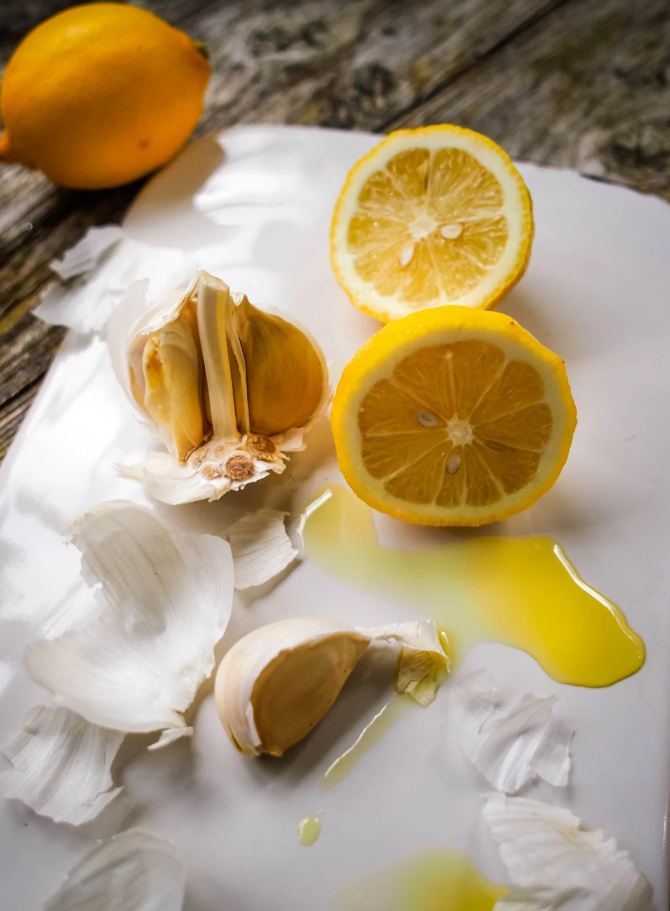
- 1 clove garlic
- 45g toasted almonds
- Juice of half a lemon
- 50ml olive oil
- Salt and pepper to taste
Instructions:
- Combine purslane, basil, garlic, almonds, and lemon juice in a food processor.
- Pulse until everything is well-blended.
- Slowly drizzle in the olive oil while the processor is running until the mixture emulsifies.
- Season with salt and pepper to taste.
- Enjoy this vibrant pesto as a spread, dip, or toss it with pasta for a nutritious, flavorful dish.
Final Thoughts
Purslane is far more than just a garden weed—it’s a nutrient-packed superfood with a wide range of health benefits. From its rich Omega-3 content to its antioxidant power, mineral richness, and culinary versatility, this plant deserves a place in both your garden and your kitchen. Whether you choose to add it to salads, soups, or pesto, purslane offers a refreshing, flavorful way to enhance your health.
So, the next time you spot purslane growing in your garden or at your local farmer’s market, don’t dismiss it—embrace it! With its numerous health benefits and delicious taste, purslane is a plant you’ll want to cultivate and enjoy for years to come.
: Nature’s Remedy for Liver and Kidney Health")


: A Natural Ally for Kidney Health")


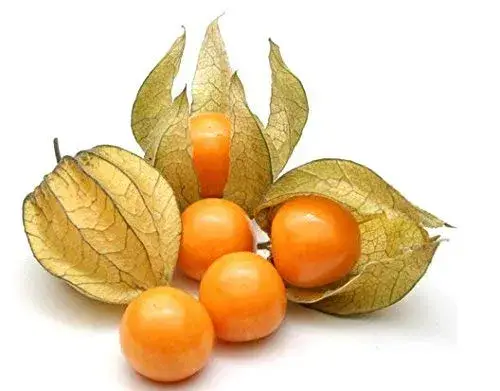
: Unleash the Power of This Nutrient-Rich Superfruit")