
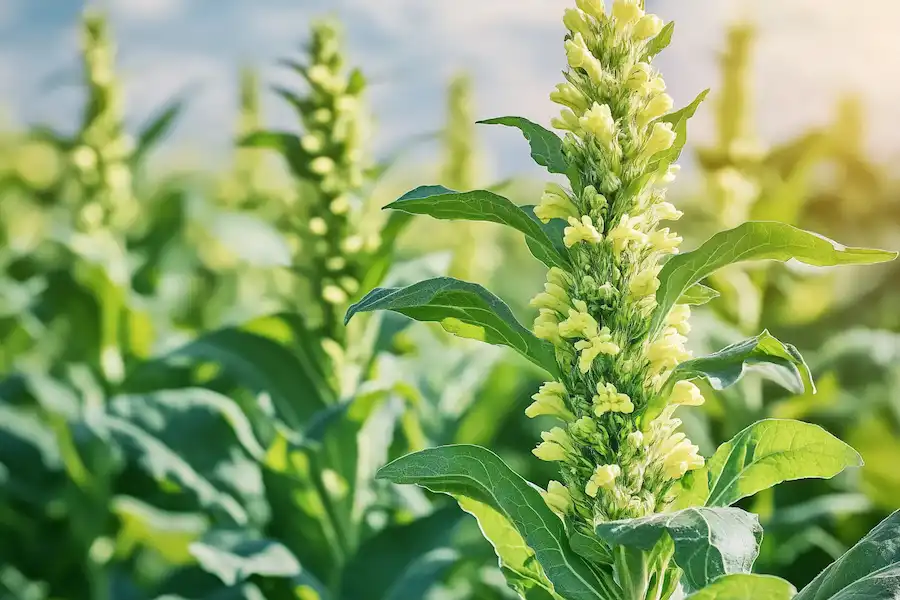
Mullein (Verbascum thapsus), a towering herb with soft, velvety leaves and bright yellow flowers, has been used in traditional medicine for centuries. Each part of the plant—the leaves, flowers, and roots—offers unique health benefits. This article explores the advantages of each and provides practical tips for home use.
Benefits of Mullein Leaves
- Respiratory Support – Mullein leaves are renowned for their ability to soothe the lungs, making them helpful for coughs, asthma, and bronchitis.
- Relieves Congestion – Acts as an expectorant, helping to loosen mucus and clear airways.
- Soothes Inflammation – Contains anti-inflammatory properties that reduce irritation in the respiratory and digestive systems.
- Eases Sore Throats – The soothing nature of mullein leaves provides relief for throat discomfort.
- Skin Healing – Used topically, the leaves help heal minor cuts, burns, and irritations.
- Pain Relief – Mullein leaf poultices can ease muscle and joint pain.
- Diuretic Properties – Supports kidney function and helps reduce water retention.
- Antibacterial Effects – Protects against infections when applied topically.
How to Use Mullein Leaves
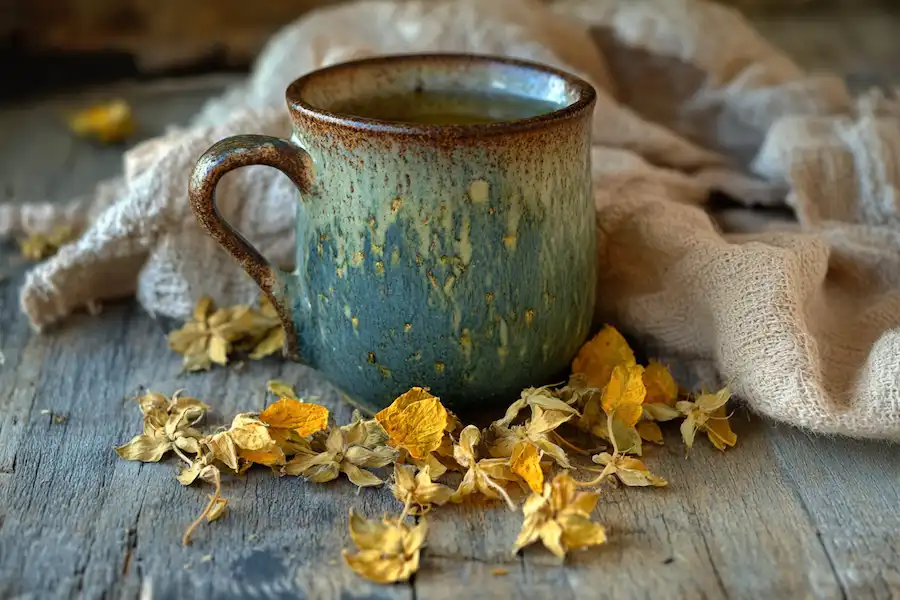
Mullein Leaf Tea for Respiratory Health:
- Ingredients: 1-2 teaspoons dried mullein leaves, 1 cup boiling water.
- Instructions:
- Place the leaves in a tea strainer or directly in the cup.
- Pour boiling water over them and steep for 10-15 minutes.
- Strain carefully using a fine mesh to remove tiny leaf hairs.
- Drink 1-2 times a day to soothe respiratory issues or reduce inflammation.
Topical Poultice for Skin Healing:
- Ingredients: Fresh mullein leaves, clean cloth.
- Instructions:
- Crush the leaves into a paste using a mortar and pestle.
- Apply the paste to the affected area and cover with a clean cloth.
- Leave for 20-30 minutes and rinse gently with water.
Benefits of Mullein Flowers
- Eases Ear Infections – Mullein flower oil is a traditional remedy for reducing pain and inflammation in ear infections.
- Calms Respiratory Issues – Like the leaves, the flowers provide relief for asthma, coughs, and bronchitis.
- Soothes Nerves – Acts as a mild sedative, helping with stress and restlessness.
- Anti-inflammatory Properties – Reduces inflammation when taken internally or applied externally.
- Relieves Muscle Pain – Infused oil can be massaged into sore muscles and joints.
- Supports Wound Healing – Applied topically, the flowers help heal minor wounds and cuts.
- Antimicrobial Action – Fights bacteria and fungi when used in oils or teas.
- Relieves Menstrual Cramps – Provides mild pain relief for menstrual discomfort.
How to Use Mullein Flowers
Mullein Flower Oil for Earaches:
- Ingredients: Fresh mullein flowers, olive oil, small jar.
- Instructions:
- Place the flowers in a clean jar and cover them with olive oil.
- Seal the jar and place it in a sunny window for 2-3 weeks.
- Strain the oil into a clean bottle using a fine mesh or cheesecloth.
- Use 1-2 drops of warm oil in the affected ear for relief.
Flower Infusion for Stress Relief:
- Ingredients: 1 teaspoon dried flowers, 1 cup hot water.
- Instructions:
- Steep the flowers in hot water for 10 minutes.
- Strain and sip slowly to ease nerves and reduce stress.
Benefits of Mullein Roots
- Supports Joint Health – Mullein root tea can help reduce pain and stiffness in joints.
- Back Pain Relief – Traditionally used to alleviate lower back pain and spinal issues.
- Bladder Support – Strengthens the bladder and helps with incontinence.
- Anti-inflammatory Effects – Reduces swelling and inflammation in the body.
- Promotes Lymphatic Health – Assists in detoxifying the lymphatic system.
- Diuretic Properties – Supports healthy kidney function and reduces fluid retention.
How to Use Mullein Roots
Mullein Root Tea for Joint and Bladder Health:
- Ingredients: 1 teaspoon dried mullein root, 1 cup boiling water.
- Instructions:
- Add the dried root to boiling water and simmer for 15-20 minutes.
- Strain and drink up to twice daily for joint or bladder support.
Root Poultice for Pain Relief:
- Ingredients: Fresh mullein root, clean cloth.
- Instructions:
- Crush the fresh root into a paste.
- Apply the paste to the affected area and cover with a clean cloth.
- Leave for 30 minutes and rinse with warm water.
Mullein is a versatile and powerful medicinal plant that can support respiratory health, ease pain, and promote overall well-being. By making use of its leaves, flowers, and roots, you can create natural remedies that are simple and effective. Always harvest sustainably, and consult with a healthcare professional before using herbal treatments, especially if you are pregnant, nursing, or taking medications.
: Benefits and How to Use It")
")

: Benefits and Uses")


