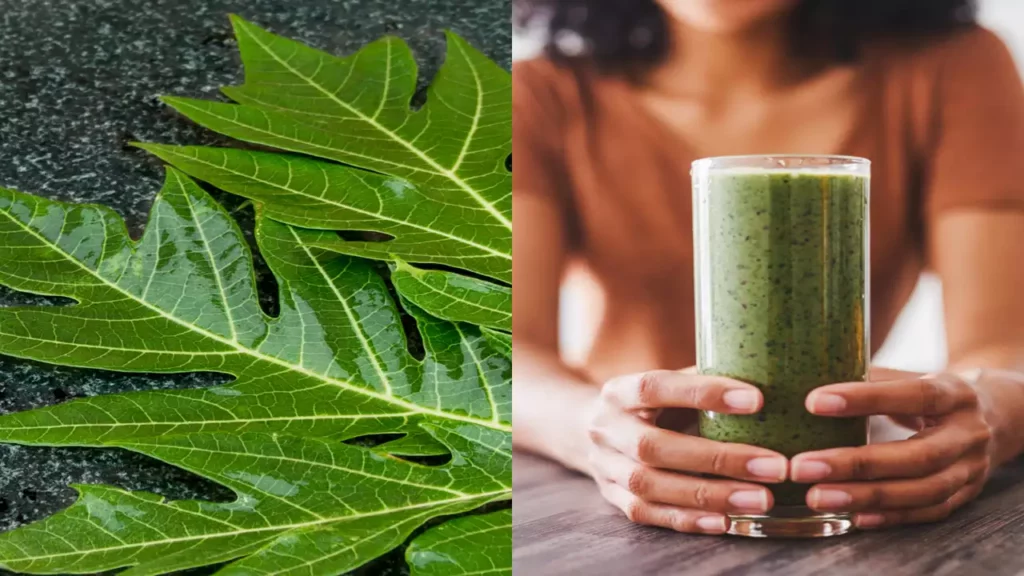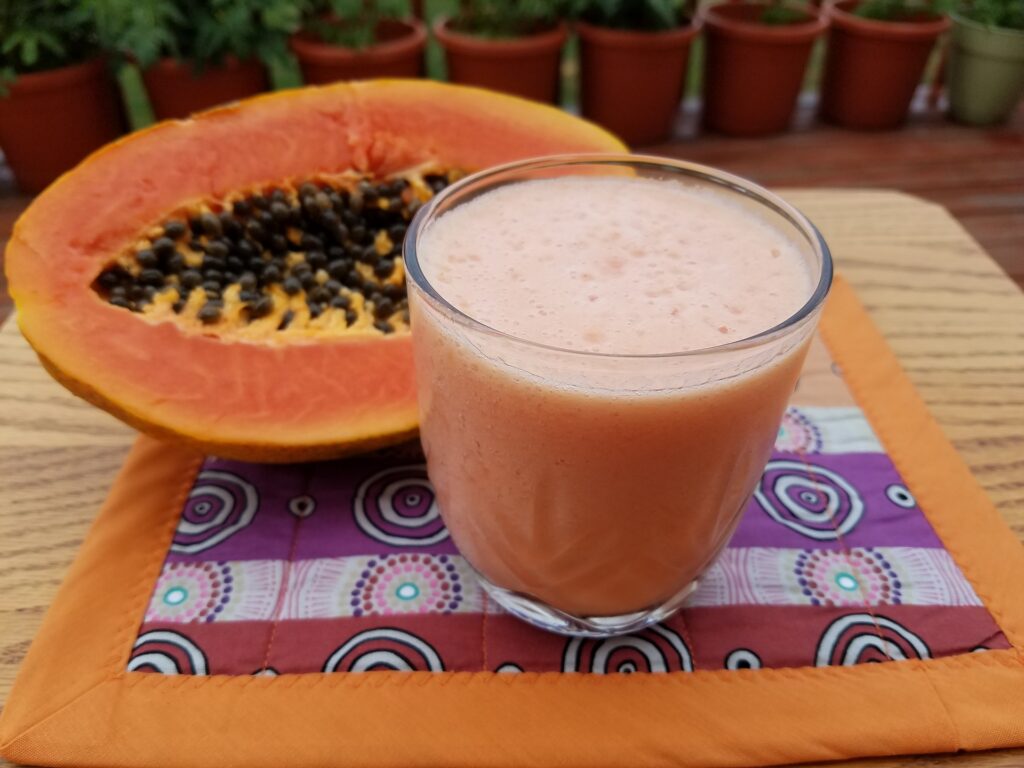
For anyone looking to enhance their digestive health while enjoying a refreshing, tasty drink, a papaya smoothie is an excellent choice. Known for its digestive enzymes and high fiber content, papaya can be a delightful addition to your wellness routine. Here’s how to whip up a super healthy papaya smoothie that’s perfect for supporting your digestive system.
The Benefits of Papaya
Papaya isn’t just delicious; it’s packed with health benefits, particularly for digestion. This tropical fruit contains an enzyme called papain, which aids in breaking down proteins and can help reduce indigestion and bloating. It’s also rich in fiber, which promotes a healthy digestive tract and can help maintain regular bowel movements.
Ingredients Needed
To make this papaya smoothie, you’ll need the following simple ingredients:
- 1 ripe papaya
- 1 banana (for creaminess and natural sweetness)
- 1 cup of low-fat yogurt or kefir (for probiotics and a smooth texture)
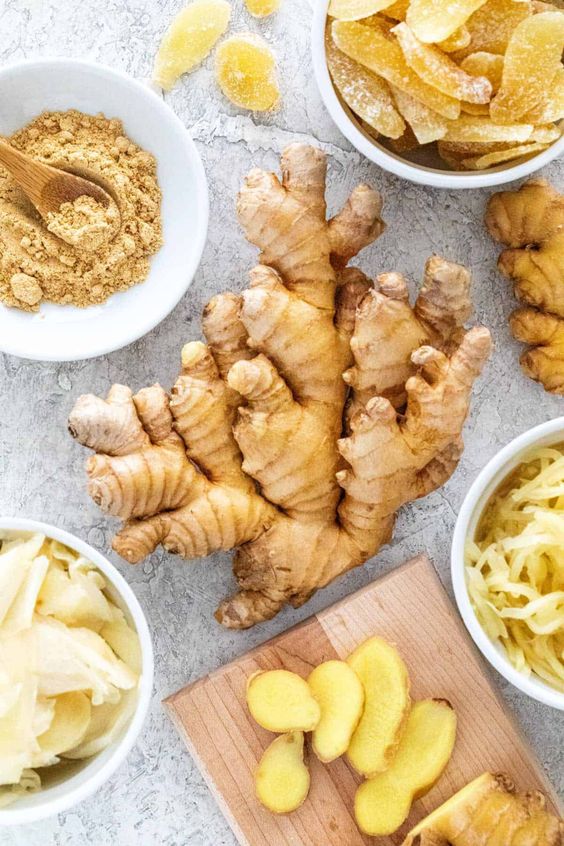
- 1/2 teaspoon of ginger (for an additional digestive aid)
- A handful of ice cubes (optional for a cooler drink)
- Honey or another sweetener to taste (optional)
Instructions for Making Your Smoothie
1. Prepare the Fruit: Begin by peeling the papaya, removing the seeds, and cutting it into chunks. Peel the banana as well.
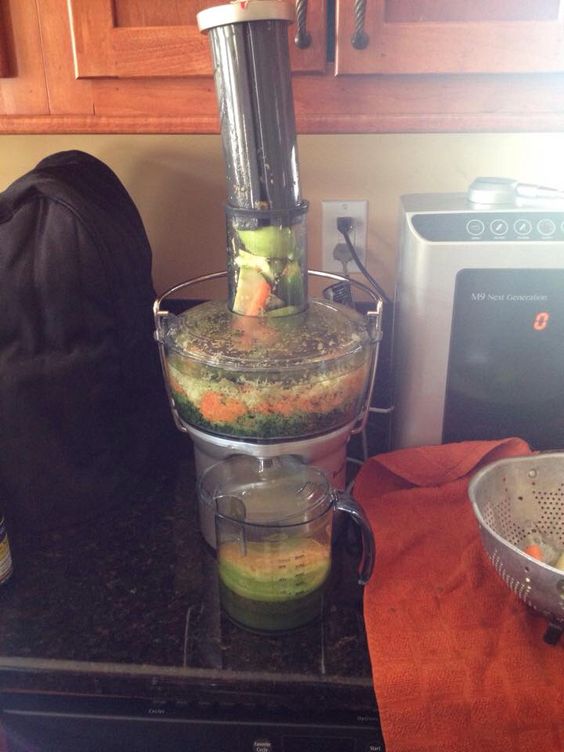
2. Blend the Ingredients: Place the papaya chunks, banana, and ginger into a blender. Add the yogurt or kefir to help create a smooth, creamy texture. If you prefer a colder beverage, add a handful of ice cubes.
3. Blend until Smooth: Blend all the ingredients until the mixture is smooth. If the smoothie seems too thick, you can add a little water or more yogurt to achieve the desired consistency.
4. Sweeten if Desired: Taste your smoothie, and if you find it needs a bit of extra sweetness, add some honey or your preferred sweetener and blend again to mix.
5. Serve and Enjoy: Pour the smoothie into a glass and enjoy immediately to make the most of its nutrients and freshness.
Enjoying Your Smoothie
This papaya smoothie is not just beneficial for digestion and gut health; it’s also incredibly refreshing and satisfying. It’s perfect as a start to your day or as a nutritious snack to keep you going. Regular consumption of this papay-rich smoothie could help you feel lighter, support your digestive health, and enjoy the natural sweetness and flavors of some of nature’s best ingredients.