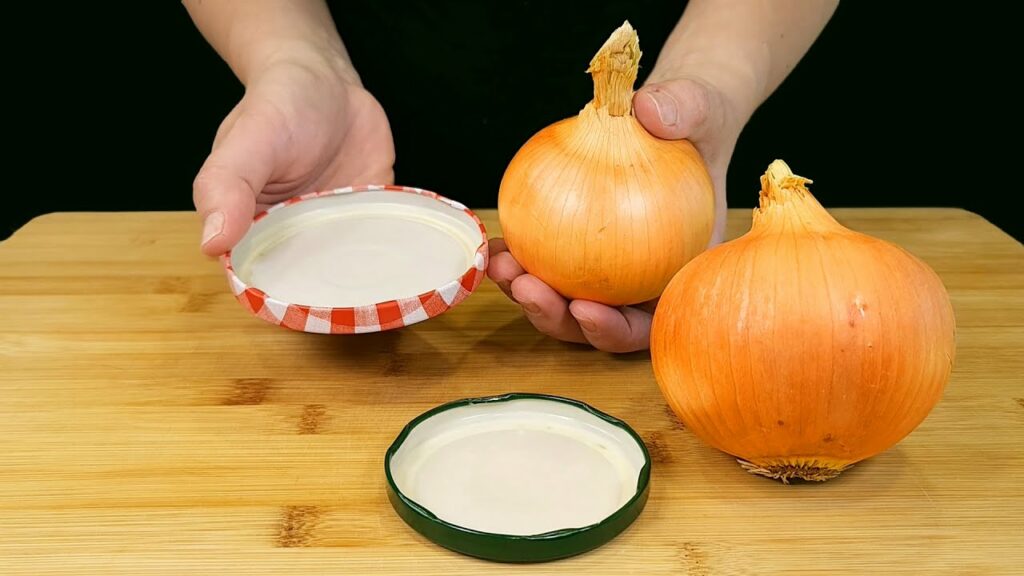
Have you ever stumbled upon a recipe so simple yet so unexpectedly delightful that it becomes a staple in your kitchen? That’s exactly what happened when a friend from China shared a unique way to cook onions. This method, involving just an onion and a lid, transforms this humble vegetable into a dish brimming with flavor. Let’s explore how you can recreate this culinary gem in your own kitchen.
The Beauty of Simplicity
Onions are a common ingredient in kitchens around the world, known for adding depth and flavor to dishes. However, when cooked using this special method, they take on a new life—soft, sweet, and incredibly versatile. This cooking technique is not only easy but also quick, making it perfect for any day of the week.
How to Cook the Onion
The process is straightforward:
- Prepare the Onion: Start by peeling a large onion and cutting it into thick slices or halves, depending on your preference.
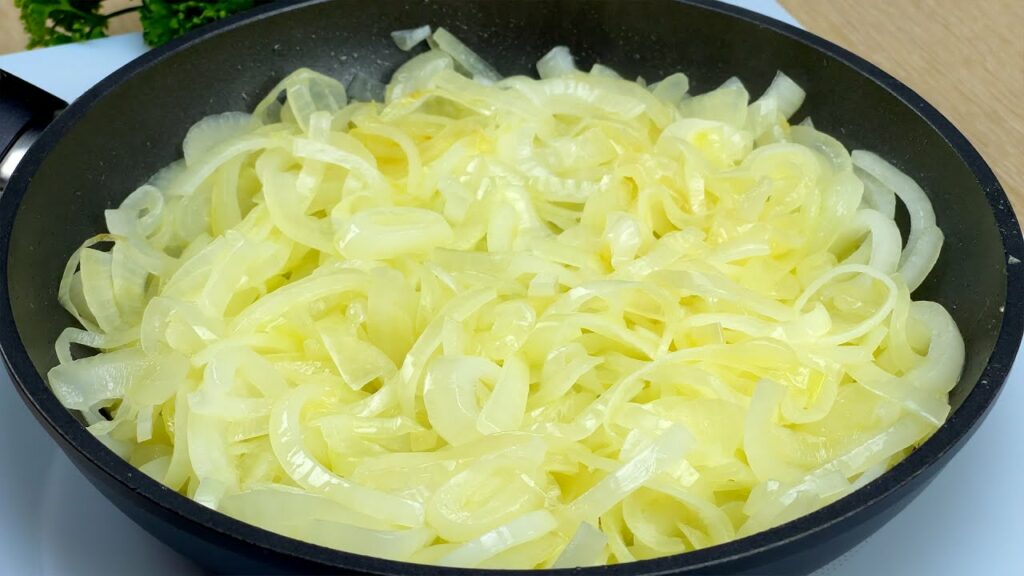
- Cook with the Lid: Place the onion slices in a frying pan. Cover with a lid and cook over low heat. The key here is to let the onion slowly caramelize and soften, drawing out its natural sugars without burning.
- Check and Stir: Every few minutes, check the onions and give them a gentle stir. This ensures they cook evenly and don’t stick to the pan.
The onions are done when they are beautifully golden and tender—a transformation that is both simple and magical.
Serving Suggestions
This dish is incredibly versatile. Here are a few ways to enjoy your beautifully cooked onions:
- As a Side Dish: Serve alongside your favorite protein like grilled chicken or fish.
- In Sandwiches: Add a layer of caramelized onions to sandwiches or burgers for an extra touch of sweetness.
- With Vegetables: Mix them into sautéed vegetables or stir them into cooked grains like rice or quinoa for added flavor.
Health Benefits
Onions are not only delicious but also packed with nutrients. They are a good source of vitamins C and B, fiber, and potent antioxidants. Regular consumption can contribute to improved digestive health and a stronger immune system.
A Recipe to Cherish
This method of cooking onions, with just an onion and a lid, is a testament to the beauty of simplicity in cooking. It’s a technique that requires minimal effort but delivers maximum flavor. So why not try this method tonight? It might just change the way you think about cooking onions forever.